Here are 10 time-saving tricks that can shave valuable seconds off of repetitive tasks in Adobe After Effects.
I have what some might call a love/hate relationship with After Effects. I’ve spent so much time in it at this point that I feel like it’s almost become a second reality for me. I’ve stared at the interface for so many hours on so many late nights, I’ve definitely learned ways to make things faster and to shorten how long it takes to do certain repetitive tasks.
I’m not talking about giant tips that will change your entire workflow forever; I’m talking about those little tiny things that shave a click or two off of things that you find yourself doing a hundred times a day. Those types of things, to me, are where you really start saving valuable time.
In this video, I share a few of mine.
I tend to think that sometimes the best tips for things aren’t really flashy — they’re the smaller tips like these. Recording these videos, I almost always have to take a bit of an ego check because I’m so used to trying to put forth the craziest-looking tutorial effect I can figure out. However, it’s my belief that things like this are more useful in the long-run.
After Effects is known for its complexity and the vast array of tools it offers. One of the most effective ways to work more efficiently in After Effects is by mastering the use of keyboard shortcuts, which may be obvious, but there are some that save a ton more time than others.
I also think that a big part of speeding up in After Effects is just diving a little bit deeper into menus and things like that and learning what each part does, because often, the default state of effects and plugins are set up in a way that isn’t necessarily saving you time.
Regardless, here are some of my thoughts on some of my favorite tips from this video.
Animation Composer Tools
Animation Composer by Mister Horse is a plugin for After Effects that allows users to easily add animations and effects to their projects. It includes a library of pre-animated elements, such as text and shape layers, as well as a variety of presets and behaviors that can be applied to these elements. Best of all, it’s free to download and try out. However, I’ve never actually used the main Animation Composer Tool.
When you download it, it comes with a suite of little smaller tools that you can use to truly make your life in AE a hundred times easier.
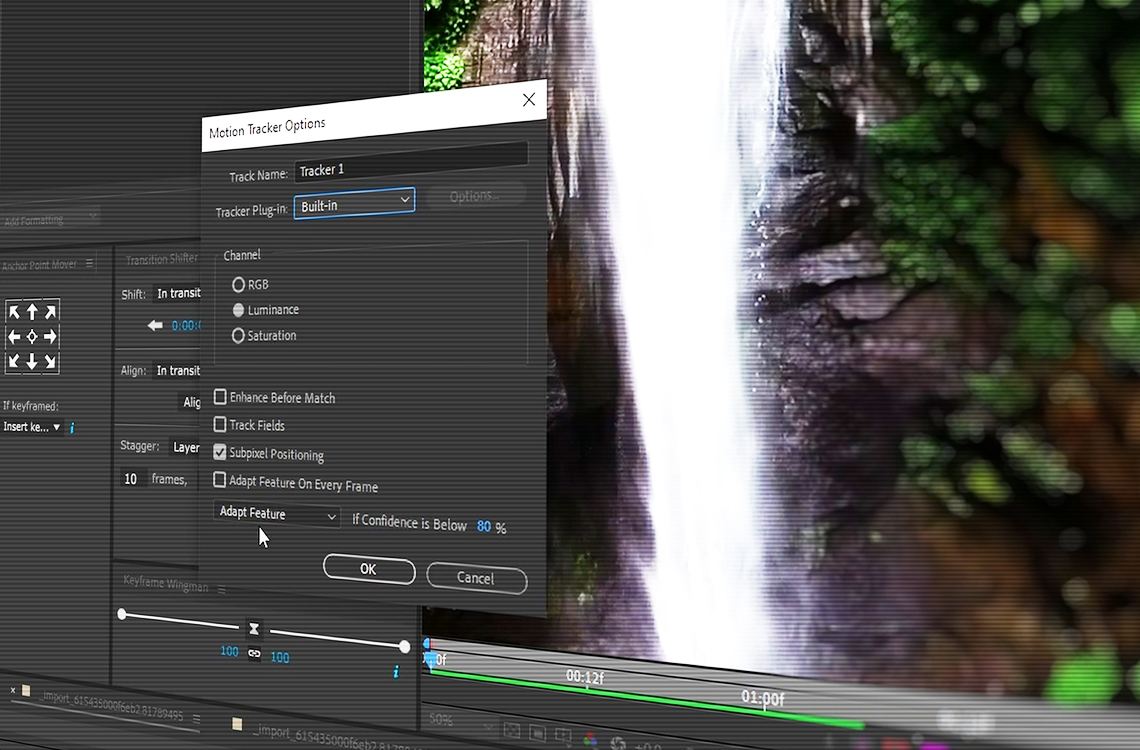
One example is the Anchor Point Mover. The Anchor Point Mover is a script that allows you to quickly and easily adjust the anchor point of a layer. This is useful when working with animations, as the anchor point is the point around which a layer rotates, scales and moves. The script has a super user-friendly interface that allows you to easily move the anchor point to any position within the layer. You can also change the anchor point of multiple layers with a single click.
Then there’s my favorite, Keyframe Wingman. Keyframe Wingman offers features such as the ability to easily adjust the timing and value of keyframes with a single click, as well as the ability to copy and paste keyframes between layers. It has a great function called “Ease Highlighter,” which allows you to visualize the easing of your keyframes, making it easier to adjust the speed of your animation.
Then there’s transition shifter, which allows you to change the spacing and timing of layers with a single click. You can shift transitions and keyframed animations on a per-frame basis just by hitting a single button.
Replace Holding Alt Key
Again, this is one of those really quick things you can do that will make something that would otherwise be a time-consuming process a total breeze.
The Alt key can be used in After Effects to quickly replace a layer in a composition. When you have a layer selected, holding down the Alt key and then clicking and dragging a new layer onto the composition will replace the selected layer with the new one, while maintaining the keyframe and other properties of the original layer. This saves so much time and effort when working on a project and you need to replace an element with a new one without losing the keyframe data (or any effects you might have used on that layer).
Additionally, this feature can be combined with the “Option” key on Mac to replace the layer while maintaining the original layer’s properties and parenting.
Using Premiere to Set up Your Project First
Working with audio in AE is terrible. It’s nearly impossible or not even worth trying. This makes it more difficult to time things out correctly, and if you’re trying to do any sound design, you might as well forget it. While it would likely be easier to just do everything sound-wise after the fact, it’s not really conducive to designing based on time changes and other things in your edit.
I find that it’s far easier to just rough everything out with basic placeholder slates in Premiere, and then send each of those slates into After Effects using a linked comp.
Using dynamic linked compositions in Premiere Pro and After Effects allows you to make changes in one application and have those changes automatically update in the other. If you want to create a dynamic link comp between Premiere Pro and After Effects, you need to have both applications open. In Premiere Pro, select the clip that you want to send to After Effects and right-click on it. Select “Replace with After Effects Composition” from the menu. This will create a new composition in After Effects that is linked to the clip in Premiere Pro. Any changes you make to the composition in After Effects will automatically update in the corresponding clip in Premiere Pro, and vice versa.
If things start to chug, you can always use this new trick called “render and replace”, which will render a flattened version of your linked comp, so that it’s just a video file (which is far less render intensive). Then when you want to make a change again, you can set it back to “restore unrendered”.
Once you’re inside of After Effects with all the necessary elements for your shot, just make a folder for all of those elements and you’ll keep everything nice and organized. This is by far the easiest way to keep longer form and sound design heavy projects under control.
Looking for filmmaking tips and tricks? Check out our YouTube channel for tutorials like this . . .


