Don’t blow your budget with these cost-effective techniques for getting a smooth shot.
In this article, we’re going to look at a few unconventional ways to stabilize your shot. While the traditional, standard route to take is to use a gimbal, what if you don’t have the budget for one yet? That won’t stop you from pulling off epic smooth movements with your camera. These methods might not be the prettiest or even most practical ways to approach a steady camera move, but when you find yourself in a sticky situation (and you will, it’s inevitable) with few to no resources, this list will save the day!
Using Your Tripod Like a Glidecam
First off, what is a glidecam? A glidecam is a type of camera stabilizer that is designed to help shooters capture smooth and steady footage while walking, running, or standing. It’s a handheld device that uses a combination of balance and counterweights to prevent any unwanted movements or vibrations caused by our hands! So, let’s take this idea and apply it to a piece of gear you probably already own
This might seem like the most obvious, basic tip you could imagine, but hear me out. Whether you’re shooting corporate events, corporate interviews, weddings, or documentaries, I’m willing to bet you’re going to have a tripod handy. Tripods are a Swiss army knife for video production, in my opinion. I can’t tell you how many times I’ve used the tripod as a makeshift gimbal, holding the tripod as its weight almost entirely reduces the amount of shake your camera produces. Weight distribution is the whole idea behind multi-axis gimbals, and at their very core, it’s about balance. So, take that logic and apply it to how you hold the camera.
So let’s say you have two subjects walking down the hall and you’re going to be in front of them, walking backwards while shooting. By keeping the tripod legs tucked in (not extended), you can use the tripod as a monopod with one hand on the camera while the other holds the tripod lightly maintaining balance. I promise this technique is going to yield a smoother shot than you would get just going handheld. This move will also allow you to quickly set the camera up for easy close-ups and coverage once they stop moving or move to a new location.
Another quick little tip? If you need a small, barely noticeable movement. While keeping your tripod legs closed, sway your camera very slowly back or forth. It will create an almost jib-like movement. If you’re interested in some more heavy-duty stabilization gear, check out my recent article on the different brands and types of rigs available!
Keep Your Arms Tucked in
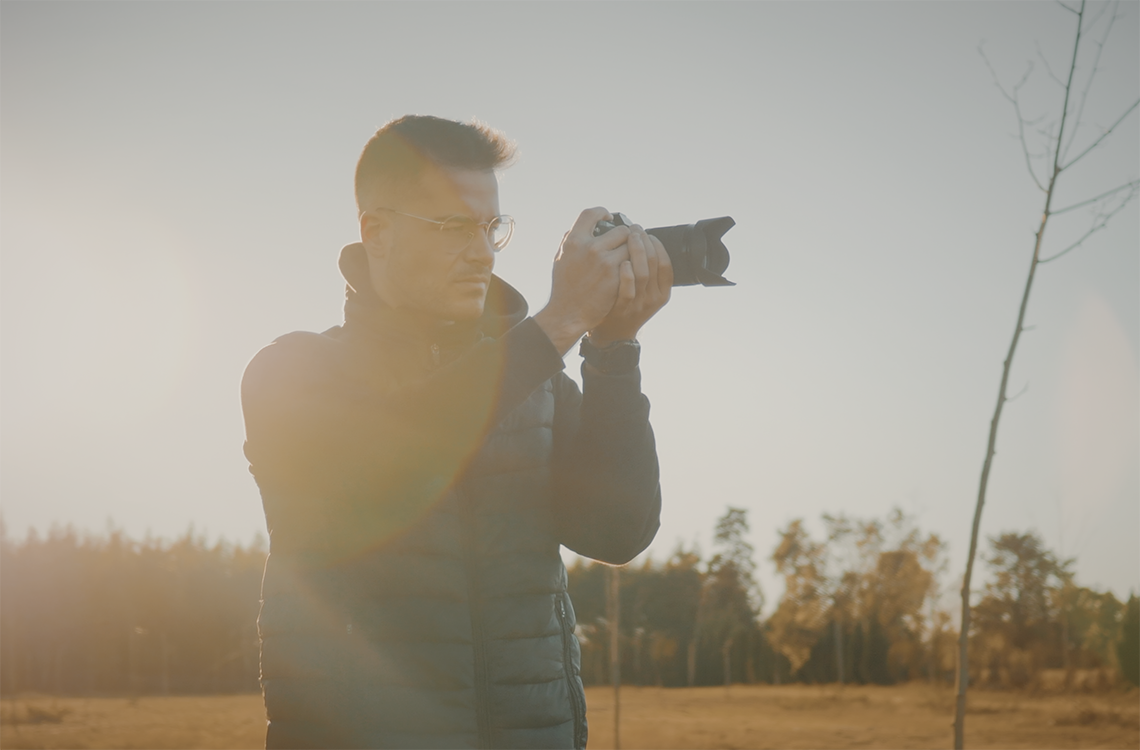
If you thought the first one sounded simple, this next tip is going to knock your socks off! So, I’ve been trying this move out a lot lately because I’m getting tired of bringing my gimbal around, setting it up, balancing it out — you know the drill. The move is simple: keep your elbows bent at an almost 45-degree angle, keeping the camera close to your body. This gives you more control over the general motion of the camera. Then, once you’ve done this, move your legs, not your arms forward. This is the important step. You want to keep your arms locked to reduce the shake and twitch that comes with using your hands to perform the movement. Your body’s center of gravity is a better base to use as the camera tracks forward.
This sturdiness you’ve created can reduce shake and micro-jitters when shooting handheld. I might also recommend leaning on a wall, if you can. This can look a little goofy, but who cares as long as you got the shot! Similar to the tripod trick, I use this at least 4-5 times on every shoot. It’s just inevitable that I need to get a shot quickly and don’t have time to set literally anything up.
Use a Camera Strap
One simple technique for pulling off smooth camera movement that I always seem to forget? Using the camera strap your camera came with! Your first instinct when pulling your new camera out of the box is probably not to attach the camera strap. I mean, you’re not a photographer, you’re a videographer. Why would you need a strap? Well, I’m here to tell you that nothing will get you a better shot than using a camera strap for stabilization. How does this work exactly? Take your camera in your hands and extend your arms until the strap is tight around your back or shoulders. This tension is creating a bit of balance for the camera. This balance removes a ton of shake and tremors that you’d find with just going full handheld.
For this approach, adding a bit of post-production stabilization, regardless of the program you edit in, is a great way to top off the shot and ensure there’s no visible shake in the final product. I don’t think any of these tips will be the end-all-be-all solution for stabilizing your footage, but they will give you a fantastic foundation for bringing the footage into your editing software to get started.
Remember, good stabilization comes down to counterweight and your ability to understand how to position your camera with that said weight. It’s physics! Right? I think it’s physics. Anyway, good luck out there, and if you come up with any new little cheap tips or tricks, let us know!
Cover Image via Videvo.
Looking for filmmaking tips and tricks? Check out our YouTube channel for tutorials like this . . .


