In this guide, we explore how to capture authentic ambient nature sound.
Natural ambience is very important in the filmmaking process. It provides a sense of location and reality to the visual aspects. Without it, the scene would be flat and, simply, unnatural. In this guide, we cover how to capture authentic ambience using essential equipment, techniques, and location scouting.
Understanding Natural Ambience
Natural ambience is the naturally occurring sound we hear both indoors and outdoors. Every space has its own sonic identity. Whether the sounds are very minimal, such as a humming sound, or much louder, like a busy city street, this is what we mean by natural ambience.
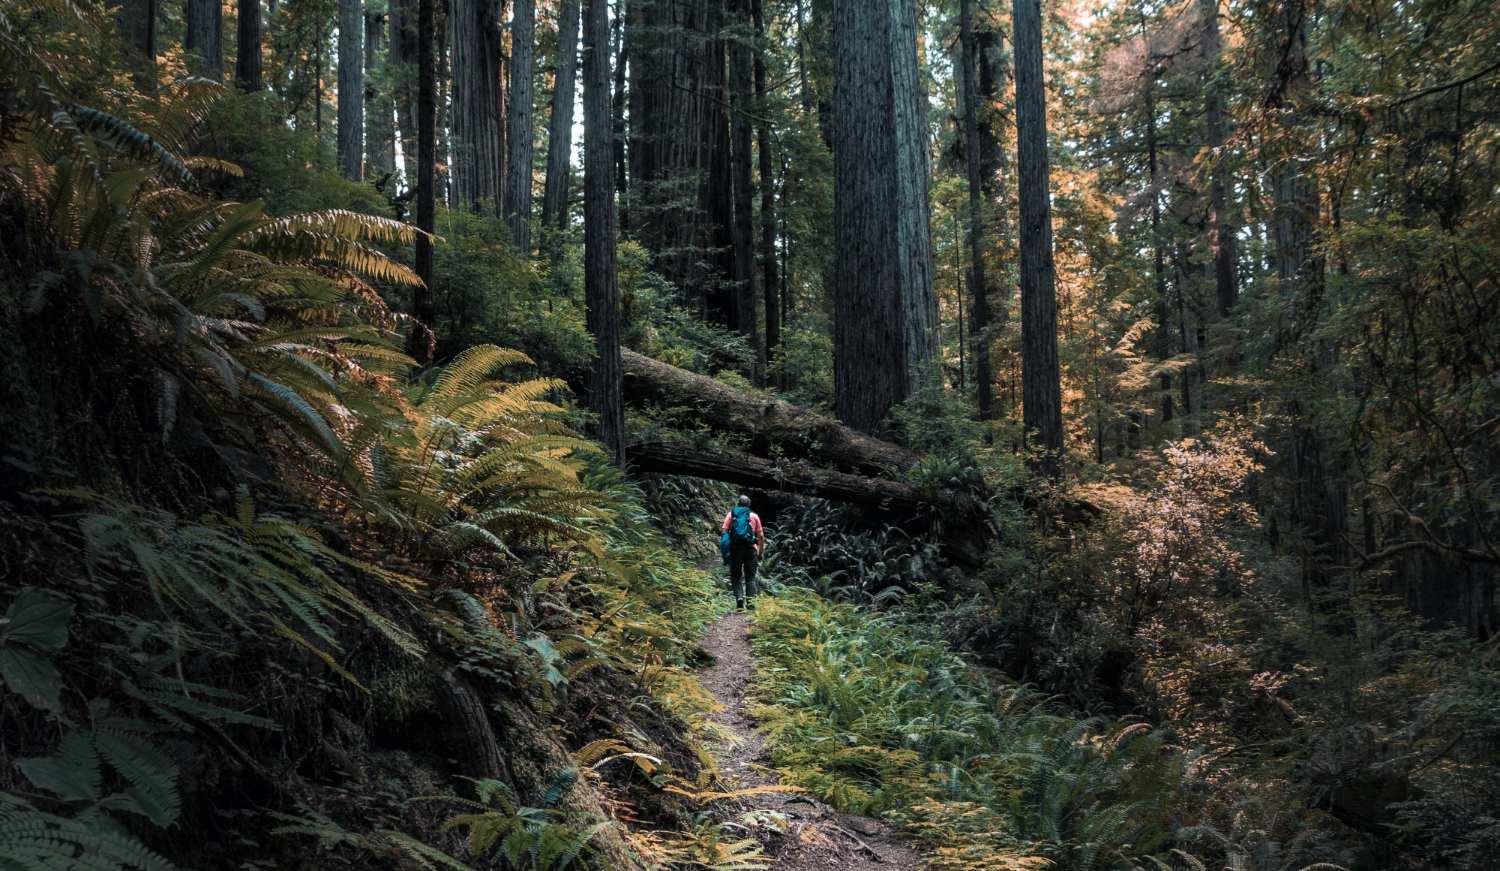
Different types of natural ambience have different impacts on visual scenes, providing identity and immersion for the viewers. A rainforest has a plethora of sounds, ranging from insects and birds to rain falling on the leaves. A city includes sounds from cars, horns, people talking, and bustling footsteps. The crashing of the waves along a cliff edge — it all enhances the visual aspects and realism.
So how do we capture this?
Essential Equipment
First, let’s talk equipment. Of course, you’re going to need microphones and a recording device, probably the two most important pieces of gear you’ll need.
Sound recorders most of the time come with built-in microphones and can be used in handheld mode, meaning you won’t need to faff around with stands and other external microphones.
Field Mixers are another type of recording device, however, these will need to be paired with external microphones. This setup is more expensive; however, it does result in much better-sounding audio.
Check out our video on the differences between a handheld recorder and a field mixer!
In regards to the type of microphone you will need, having an omnidirectional microphone captures a better representation of natural ambience due to its 360-degree pickup. These microphones are higher in price, so opting for cardioid microphones works just as well and can result in a similar effect. It’s good to have a pair of microphones with the same specifications for a wider pickup, which can be set up in various stereo micing positions such as A/B, X/Y, and ORTF.
Additionally, ensuring you have low self-noise microphones will really benefit your recordings. Microphones can produce self-noise, which can be a hindrance — especially when recording relatively quiet ambience.
Outdoor recordings do pose their challenges, one being wind. To attenuate or completely eliminate this, you will need a windshield. Microphones are super sensitive to vibrations which can very easily be picked up and ruin the effect of the ambient recording.
Something like the RODE Blimp is a great choice if you are only using a single microphone. It comes with a shock mount as well as the windshield itself, which is capable of absorbing any vibrations, resulting in clearer-sounding audio.
Capturing ambience requires long takes, some of which can go into hours of footage. Having a stand is essential just so you don’t need to hold any equipment! You can buy stereo mounts such as the RODE Stereo Bar for paired configuration setups. Additionally, if you are in locations where it may be windy, a sandbag will be good to have on hand to stop anything from tipping over.
A good pair of headphones is also important — specifically monitoring headphones. This allows you to confirm that your microphones and gear are working and you can listen to what you’re recording.
Other recommended pieces of equipment include a sound bag, especially if you’re using a field mixer and microphone set up, and some XLR cables.
Techniques for Capturing Natural Ambience
Capturing natural ambience requires careful observation and patience. Knowing how to maintain the correct balance in your microphones to get the best sound is something that comes with practice. Every location is different. Here are some tips and techniques that will help you along the way.
Location
This is key when capturing natural ambience. You want to plan and identify not only the types of sounds you want but also specific locations where you can obtain those sounds.
Challenges can arise from not planning accordingly, such as too much noise pollution. If you want to capture specific sounds from animals, ensuring you are in a suitable location that’s secluded away from noise can provide you with the best recording. With that, if you are scouting for specific wildlife, research areas where you can find those species. Finally, bring someone along with you as a safety precaution, especially when the location is isolated.
Listen
Listen to the environment you’re in before recording. Your ears are your primary guide. Observe the sounds around you and take note of what you can hear. It’s also helpful to close your eyes as your vision can distract you from truly listening to the environment. Once you have a sense of the sonic landscape, it can help with microphone placements. Find those sweet spots in the space you are in to help with microphone placements.
Microphone Placement
As mentioned previously, when working with a pair of microphones (which will provide you with a much wider stereo field), these can be configured into different positions.
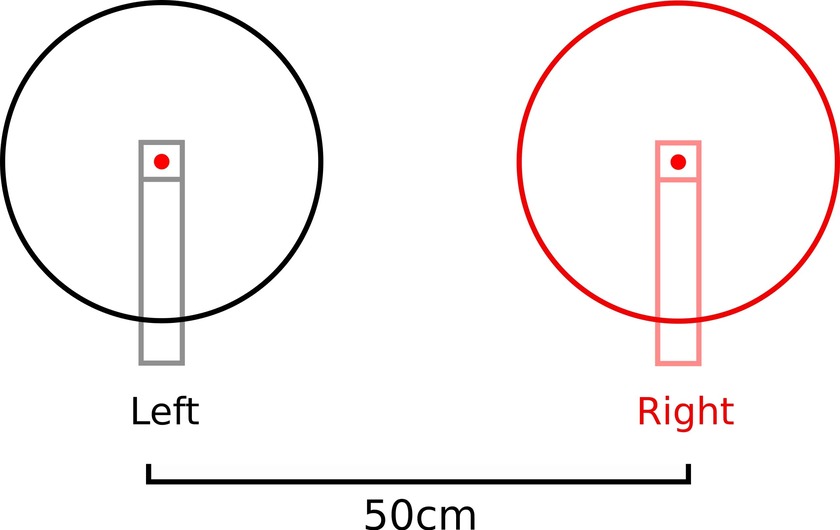
The most common is an A/B setup. This is great for spacious ambient recordings and can be spaced between 2-10 feet apart.
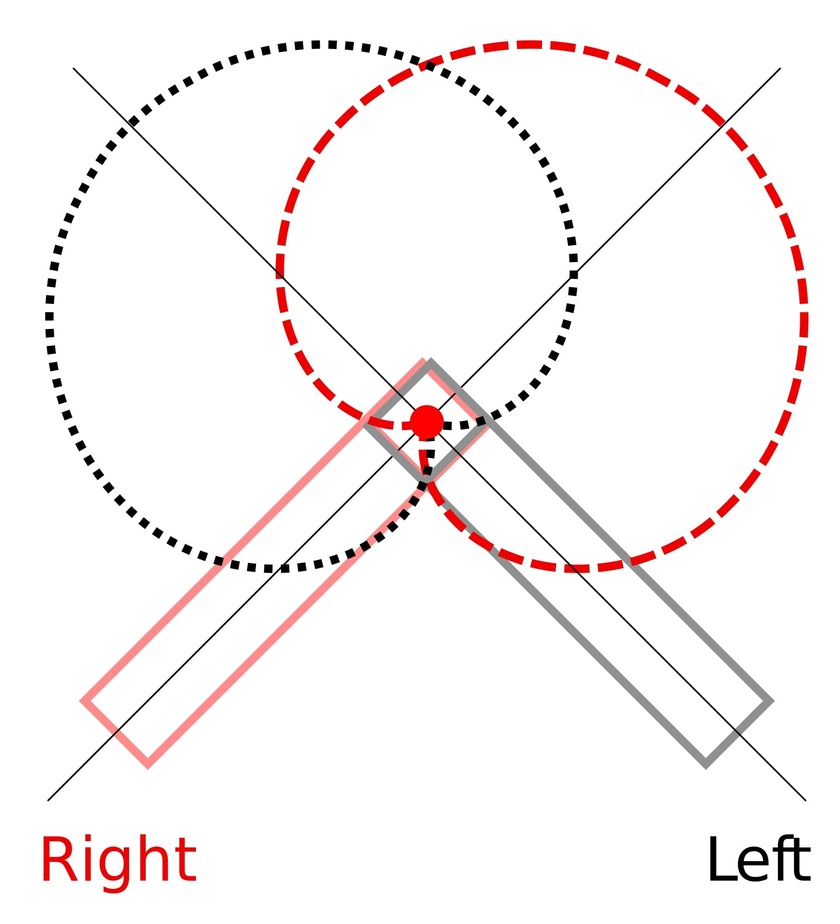
An X/Y placement is another popular type of configuration. While this doesn’t have the width of an A/B placement, this is highly beneficial for picking up more specific sounds at a closer distance. The pair of microphones should be angled at 90 degrees with the tops overlapping each other.
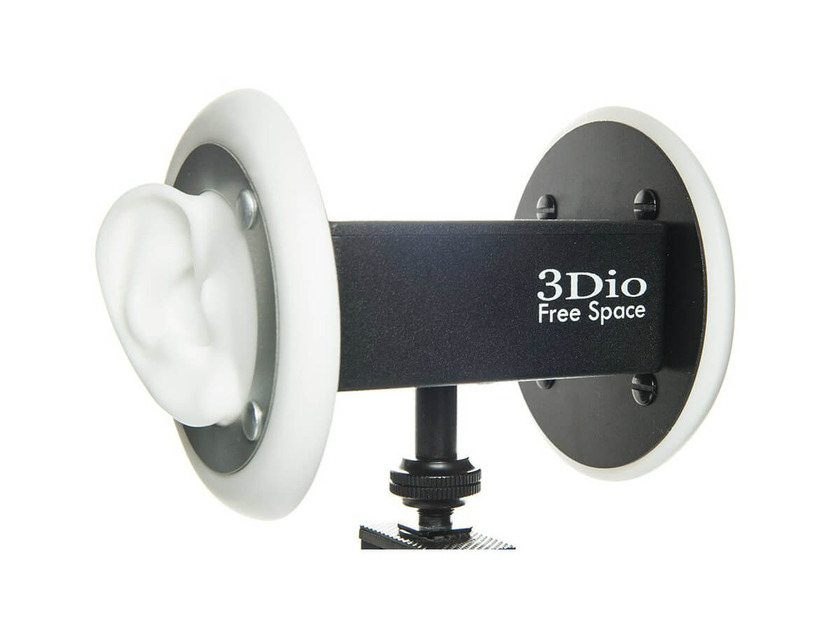
Binaural Stereo is another popular miking technique as this closely matches how our ears perceive sound. If you have the budget, you can purchase a Neumann KU 100, a dummy head microphone for a truly immersive listening experience. As this is super expensive (just shy of $10,000), you can opt for something like the 3DIO Free Space Binaural Microphone which is $399.
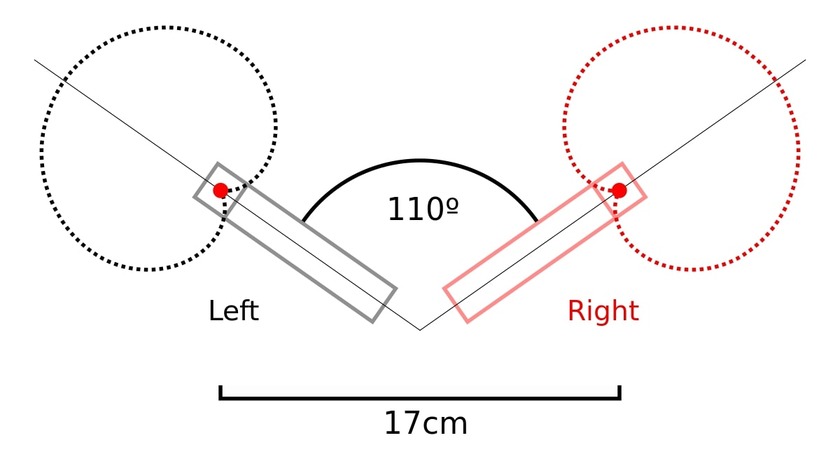
ORTF (stands for Office de Radiodiffusion Télévision Française, invented in the 60s as an alternate to X/Y) is a useful configuration and doesn’t require something like a dummy head to capture lifelike ambient recordings, thus making this a much cheaper option. Also known as side-other-side, the mic capsules are placed around 7” apart at an angle of 110 degrees.
When out in a forest, some recordists will opt to mount a pair of microphones on each side of a tree, a useful way to capture a true stereo field. Below is a video from Antonino Russo Field Recording Stories where we can see this technique being used.
Gain Levels
Setting the correct gain levels does take a lot of practice as this is something that wholly depends on the type of environment you’re in; therefore, there isn’t a definitive level. The more you practice, the more you’ll understand what desirable gain levels you need to be at.
As a general rule, you want to raise the gain until you can start to hear noise. This will be from your recording device (self-noise). Turn the gain down until the noise has gone, and there is your gain level all set.
If you’re recording loud ambience, keeping the levels under -6dB will be suitable as this gives enough headroom and avoids the danger of clipping.
Here’s a great video by Free To Use Sounds who specializes in field recordings on setting levels.
Practice and Patience
Perfecting the art of recording natural ambience takes practice and patience. Don’t forget that capturing natural ambience means working in uncontrollable environments. Noise may arise that you weren’t expecting, but this is also the beauty of capturing nature in its pure state.
Go out into the field and get familiar with the environment, listen for yourself before recording, and getting those gain levels right will take some time. The more you do it, the better you will get!
Cover image via Freepik.
Looking for filmmaking tips and tricks? Check out our YouTube channel for tutorials like this . . .
