Over the last ten years, we have seen the tools of filmmakers and photographers become interchangeable, from tripods to carrying accessories and even cameras themselves. However, what remains mostly a photographer’s tool is the strobe light. Of course, the strobe refers to a flash that sends a single bright burst of light to illuminate a subject. Outside of being used as a practical prop within a film, this type of light serves little to no practical use on a film set.
However, higher-end strobe lights also include a modeling light, a separate LED that emits a continuous light similar to the constant sources of light we encounter on a film set.
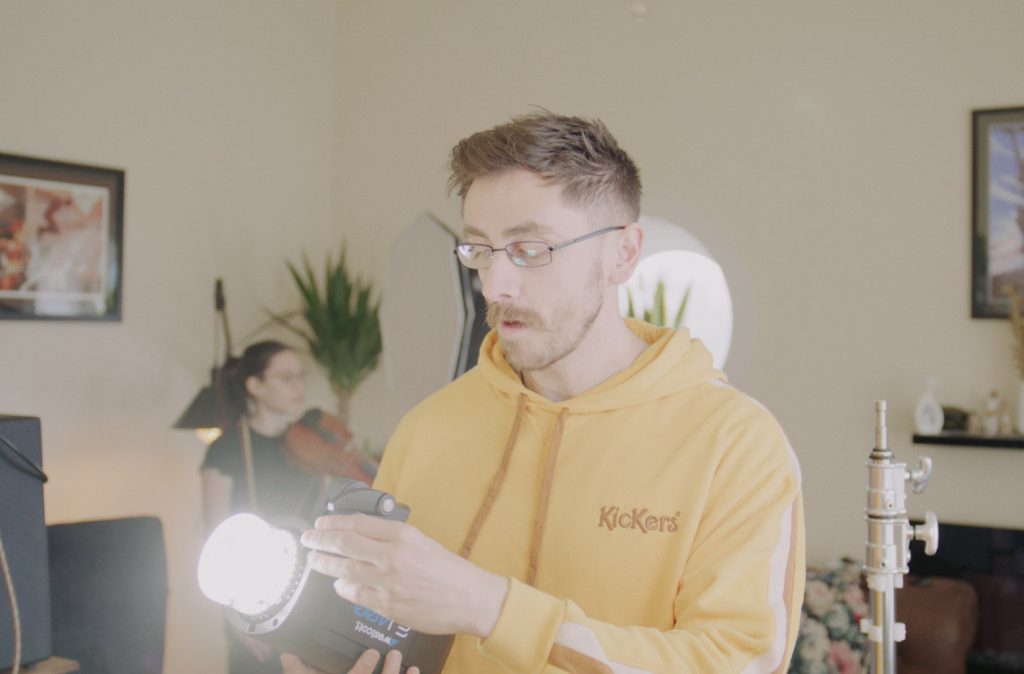
The purpose of the modeling light is to assist in previewing where the flash will hit and what the resulting shadows will look like. This is necessary because, when taking photos with flashes, the location of the light impact is unknown before taking the picture. By using a continuous light source close to the flash head, the modeling light mimics the behavior of the flashlight, allowing for a preview of the resulting image. Thus, the name “modeling light” comes from its function of helping to create a “model” of the intended flash photo.
Just as photography and video tools have become interchangeable over the last decade, so have the roles of the photographer and the filmmaker. If you’re a photographer, and you know that the strobe also has an LED continuous light function, it may make the light bulb above your head flick on and think, “Hang on, why would I need to buy an Aputure or Amaran light when my strobe does the same thing?” Or does it? That’s the question we look to answer in this article, and right off the bat, I’m going to tell you this isn’t something you should do. Let’s have a look at a few reasons why.
Audible Noise
First, modeling lamps have been designed as preview lights for flash photography, so they are expected to be on for only a moment. As a result, these lamps aren’t typically designed to withstand the heat generated by continuous operation, and they may overheat if used for extended periods.
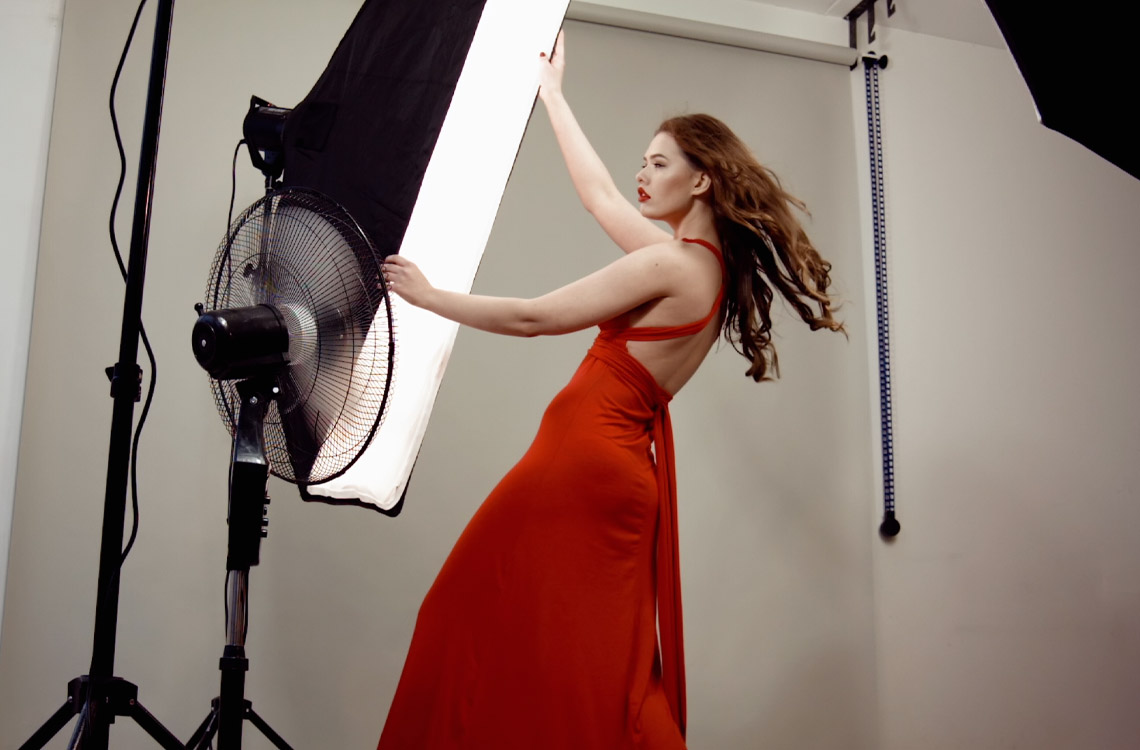
However, you will find that the more expensive strobe lights with modeling lamps also have fans. However, because a modeling lamp isn’t concerned with potential noise, you will find that they are rather loud. The Aputure 120d, by way of comparison, has a fan designed to be quiet and an additional heat sync to mitigate the need for a powerful fan. Let’s compare the Fj400 to the Aputure 120d, a dedicated LED continuous light.
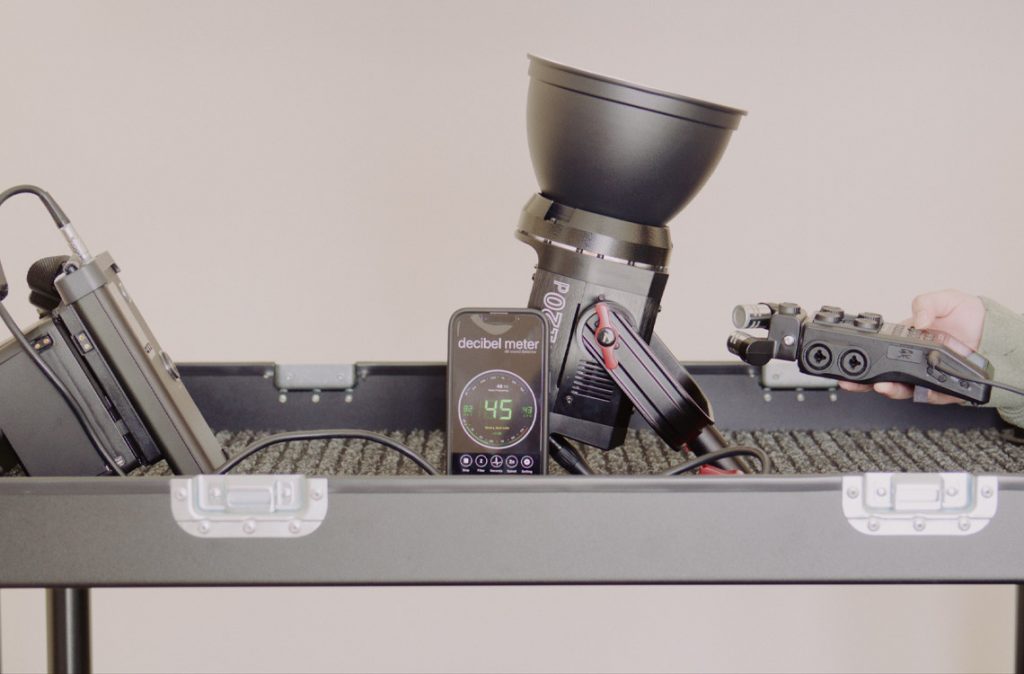
The Aputure 120d has an audible dB range of 42-50dB. In contrast, the FJ400 has a whopping fan noise of 62-70dB.
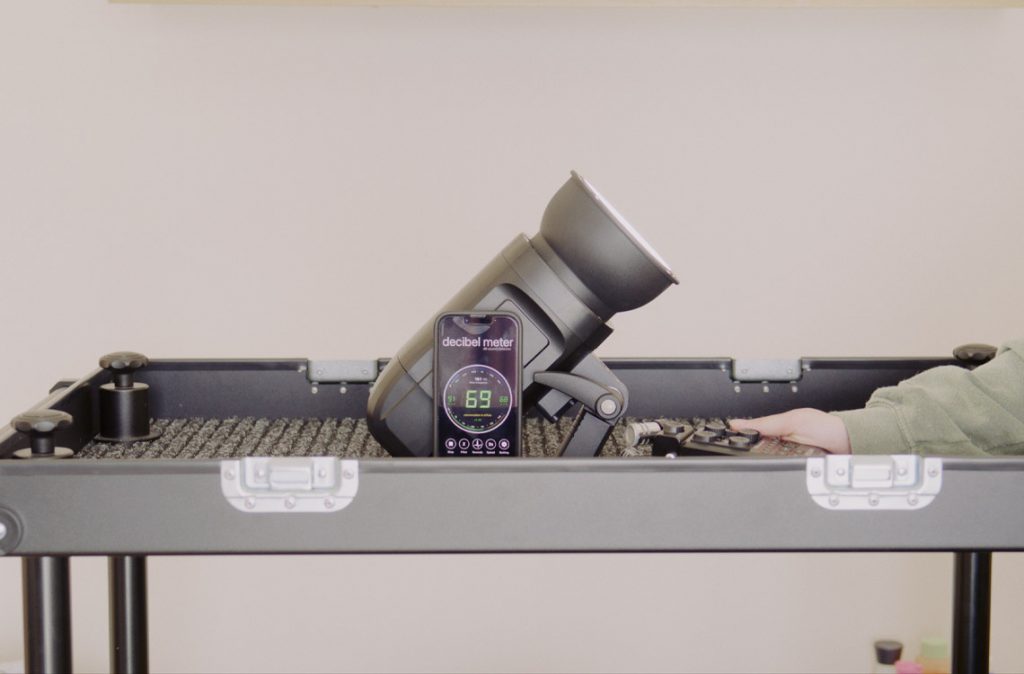
While it isn’t the same noise level as a PS4 fan, it could be better for a medium that requires silence in most circumstances. As filmmakers, we make it a mission to seek out this type of noise on location and squash it, but the idea of introducing a light that creates noise is the first big no-no.
Inadaquete Brightness
Another factor to consider when using modeling lamps for filmmaking is their brightness and the accessibility of controlling the light. What do I mean by that? Well, let’s look at the Aputure again. The independent control panel can easily access the light to increase or decrease the brightness. A lemo cable attaches to this panel and can be placed on a light stand, allowing the filmmaker quick and easy access. The filmmaker can then adjust the brightness from 10 to 100.
On the FJ400, the modeling lamp is directly controlled by turning on the feature on the unit itself and then using the scroll wheel to adjust the brightness. You can also change the light through the flash trigger. However, this is only adjustable by several parameters, from 1 to 9, with incremental adjustments throughout.
While adjusting the power for the modeling light isn’t tedious, it’s certainly not as fluid as one would expect when using a light dedicated to filmmaking.
Next, let’s talk about brightness. Modeling lamps are typically less bright than dedicated continuous filmmaking lights, which can result in inadequate illumination for video work. This can lead to poorly lit footage, with insufficient light coverage or underexposed scenes. Let’s compare the difference between the Aputure 120d vs. the FJ400.
The FJ400 features a 20W 5600K LED modeling lamp, which is relatively bright but nothing compared to the 135W power draw from Aputure’s 120, allowing coverage of the entire room.
Of course, the modeling lamp produces sufficient brightness to replicate the type of light produced by the flash, but when we think of where flashes are situated on a photo set, they are typically quite close to the subject or product. In contrast, continuous lighting may sometimes need to be at least a dozen feet away. In these situations, using a light that can only output so little power isn’t practical.
Improper Attachments
Ok, let’s finally talk about attachments. The one thing that both of these lights have in common is that they are hard to light in their natural state, and usually, for any form of subject lighting, you will want to soften the light. Therefore, we can consider using one of the many available attachments.
However, photography accessories are often designed for still photography, which involves capturing a single moment in time with a large bright flash that can often overpower any drawbacks in the construction. In contrast, filmmaking consists in capturing a continuous sequence of images over a more extended period. This means the lighting must be consistent and predictable throughout the sequence, which can be challenging to achieve with photography accessories.
For example, with the rapid box attachment, the device’s construction has the umbrella tongs meeting in the middle, which leaves a projected shape on the softbox material and then onto the subject itself. This is common across a wide variety of photographic lighting modifiers.
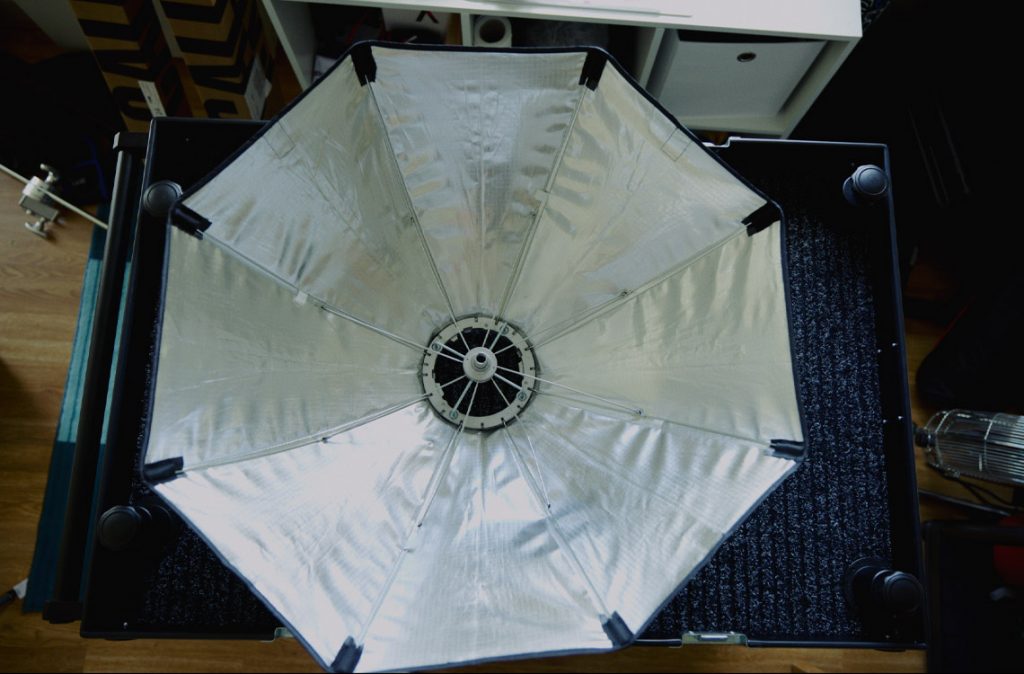
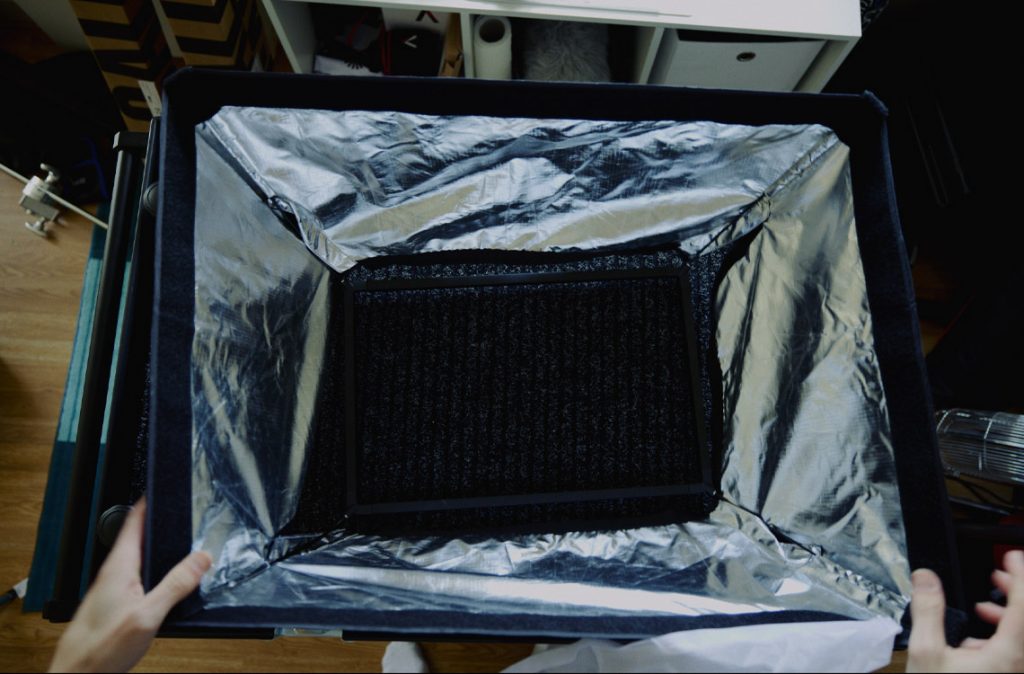
In contrast, with filmmaking lighting modifiers, you will find that they have been designed to minimize lighting obstructions to create a perfectly even spread of light.
Conclusion
When I started filmmaking as a hobby and tried turning it into a career, I did everything possible to save money. This included DIY rigging, using the cheapest third-party accessories, bootleg software, and employing tools in ways they weren’t meant to be used. If you’re a photographer hoping to kill two birds with one stone by using continuous lighting, I’m afraid that’s not the case. The modeling lamp has one specific duty: to provide a pre-visualization of your shot. Although it may be tempting to use for filmmaking, it’s not practical.
However, if you’re shooting a behind-the-scenes video for your photography work, I’m sure there’s no harm in turning on the modeling lamps to add practical lighting to your set, but this should be done in short intervals.
Looking for filmmaking tips and tricks? Check out our YouTube channel for tutorials like this . . .
