If you’re interested in learning how to edit footage in Adobe Premiere Pro, here’s what you need to know to get started.
You can’t edit a video without cutting up your footage a bit. Whether it’s simply making a clip shorter, or cutting up hundreds of clips to form a full video, making cuts is literally the basis of editing. Let’s go through a few ways you can split up clips in Adobe Premiere Pro.
To begin, you’ll want to have a sequence to place your footage into. If you’re not familiar with how to do this, check out our previous article on the subject. For simplicity, there should be nothing in the timeline yet, and that’s where we’ll place the clip we want to cut up.
There are a few ways to go about cutting up a clip in Premiere, so I’ll outline the methods I use as an editor for my own work.
Primary Cuts
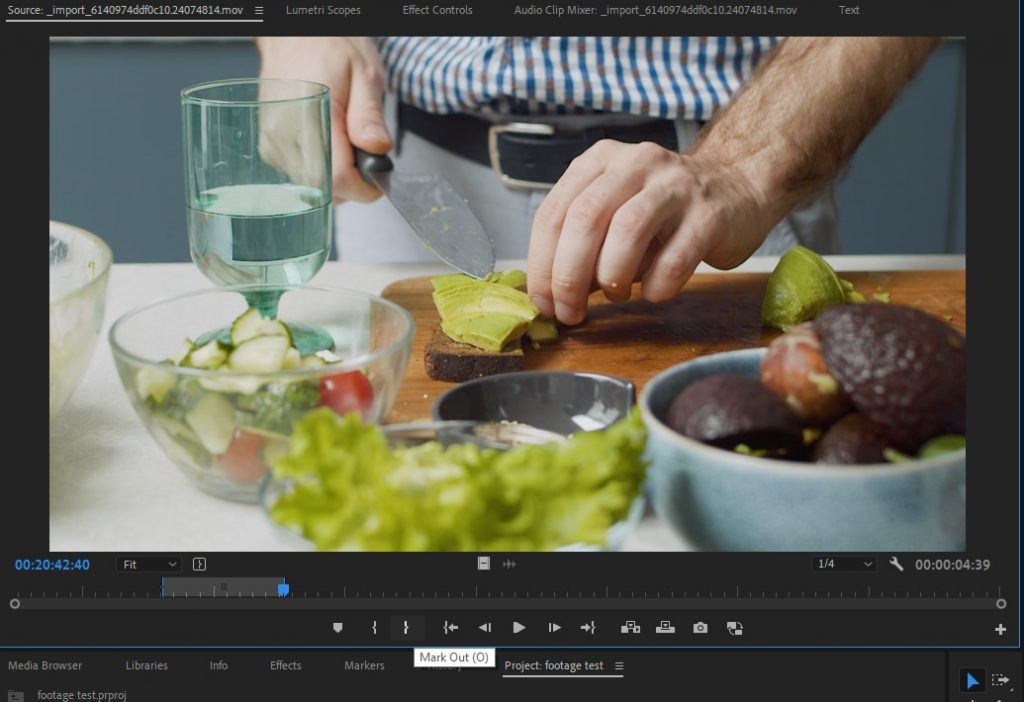
When selecting a clip, I like to open it up in the Preview Window, which is typically found at the top left of a standard Premiere layout. You can do this simply by double-clicking the clip in question. This will bring up similar playback features as your program window. Here, you can play the clip in its entirety. As you watch or scrub through the footage, you’ll find the section that you’ll want to include in your full video. We’re going to use In/Out Points to trim this clip to our liking. Just left of the play button you’ll see a couple of buttons that look like brackets or “{ }”. These are your in and out points. Your In Point is where the clip will begin and the Out is where it will end. Click these icons exactly where you’d like them to go. This will bring up a gray bar under the clip indicating how long the clip will be in relation to the full video you’re taking it from.
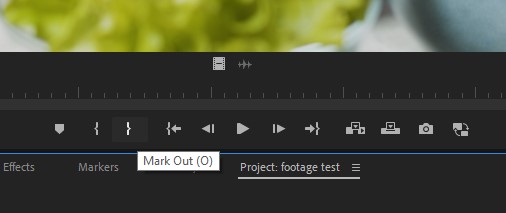
(Tip: Editing is all about efficiency and speed. Use the quick keys “I” for your In Point and “O” for Out to speed this up and avoid relying on the buttons below the Preview Screen. )
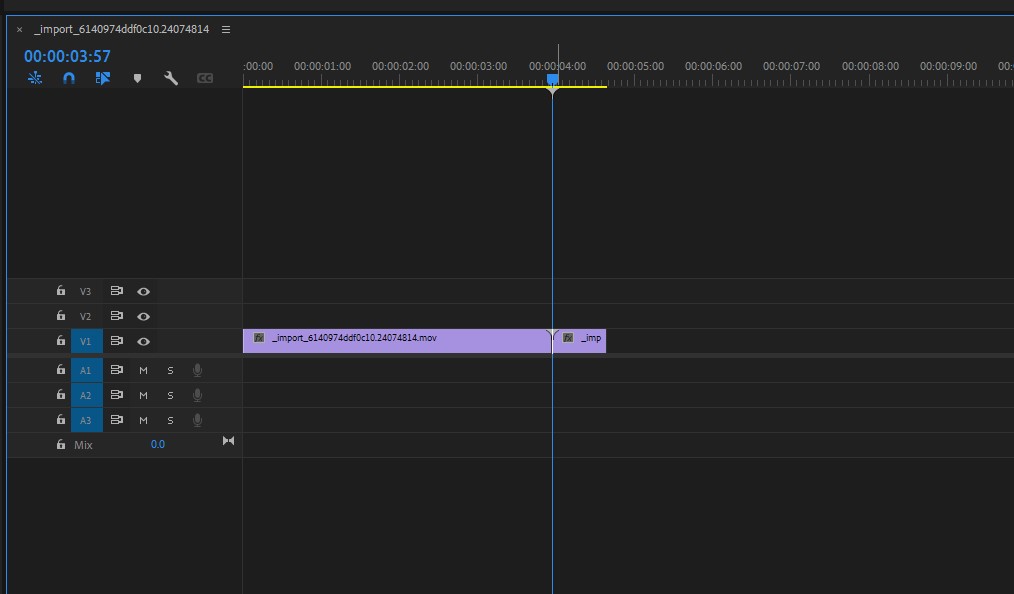
Once you have these in place, you can drag and drop the clip into your timeline. You can do this by clicking the image and dragging it or clicking the film frame below the image as well. Keep in mind, dragging the film strip will only insert the video, and dragging the waveform icon will only insert audio from that selected portion.
Later, you can also shift the selected time frame by double-clicking the clip from the Sequence Timeline. This will bring up that specific clip into the preview window with the In and Out Points already made. The three lines in the grey bar can be shifted further down or up on the clip’s timeline. This will keep the length of playback time the same, but shift the in and outs respectively.
Secondary Cuts
In the old days, cutting literally referred to cutting up strips of film and taping them back together. Lucky for us, it’s 2023, and we have non-destructive editing at our fingertips. Once you drag that primary cut into your timeline, that may not be the last time you tinker with that exact clip. You’ll need to make sure it matches to pacing and flow, and fits into the story. Here’s where the next method to cut up a clip comes in handy.
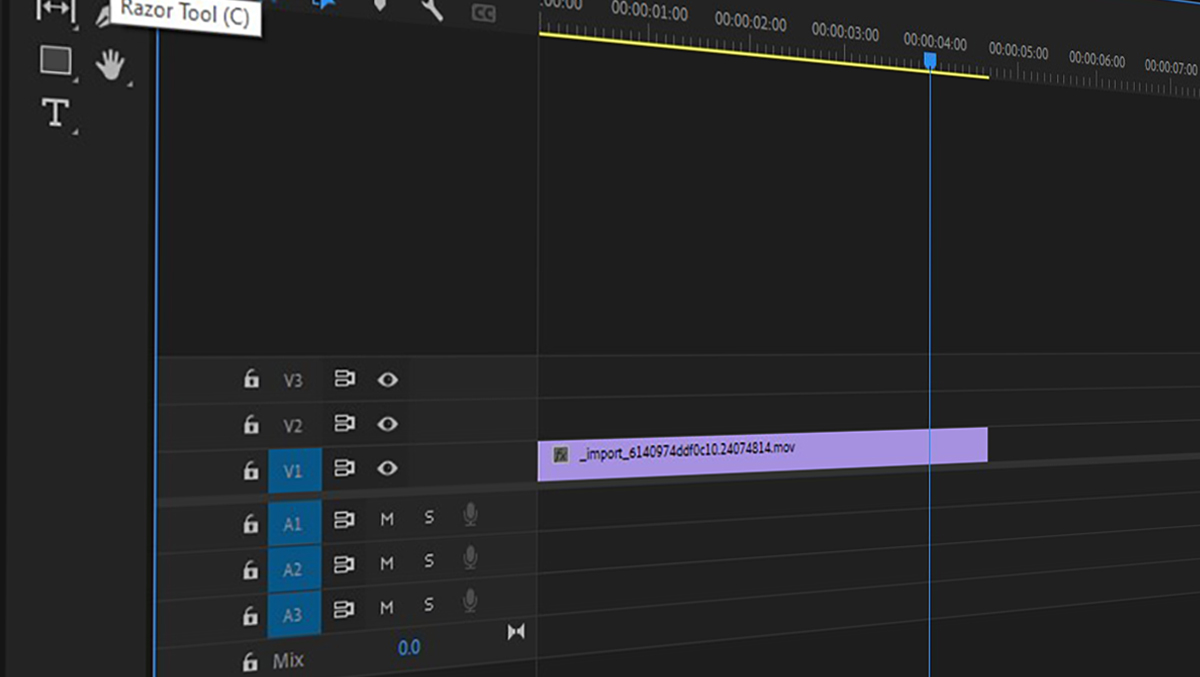
Find the place where you’d like to make the new cut using the playhead cursor over the timeline. Now head over to the Sequence Tools, typically located just left of the timeline. Notice that little tool that looks like a razor blade? Guess what that’s used for! Cutting! (Use shortcut “C” to activate the Razor Tool.) Clicking that will turn your cursor into a dicing machine and will cut your clip up wherever you click. The reason we have the playback line exactly where you want the cut is for precision. We want to make sure we cut the clip exactly where we need it to be cut.
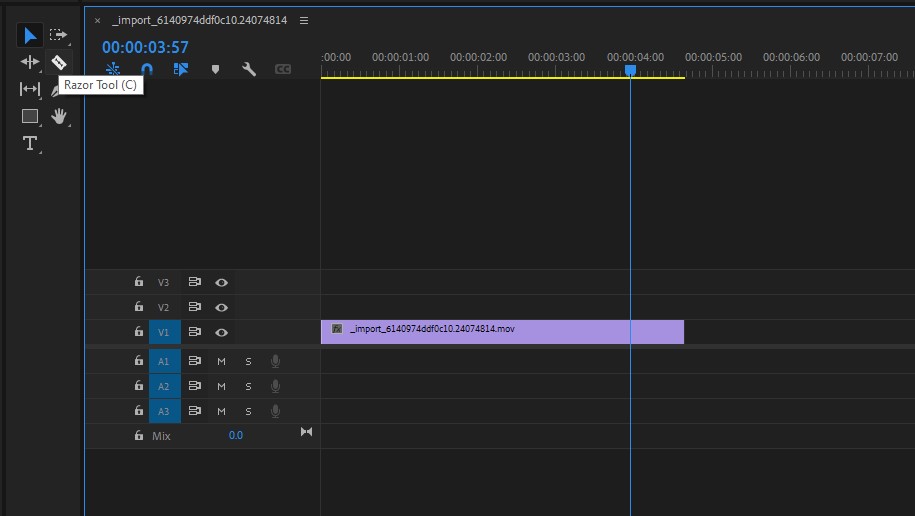
Simply click on the clip where the playhead is, and voila, the clip should split into 2. Now you can move each independently, either placing each piece where you’d like them to live or deleting one all together. Continue cutting until your heart’s content.
If you made a mistake and want to undo the cut, that’s simple. Simply go back to your normal cursor (shortcut “V”) and click on where the 2 clips meet. Hitting “backspace” will join the two clips back together to form a single clip again. Be careful though: you cannot join two clips together if they don’t match up where the cut is. If you’ve shifted or cut up a clip multiple times, you may not be able to join them back together. You also cannot rejoin two clips from different sources.
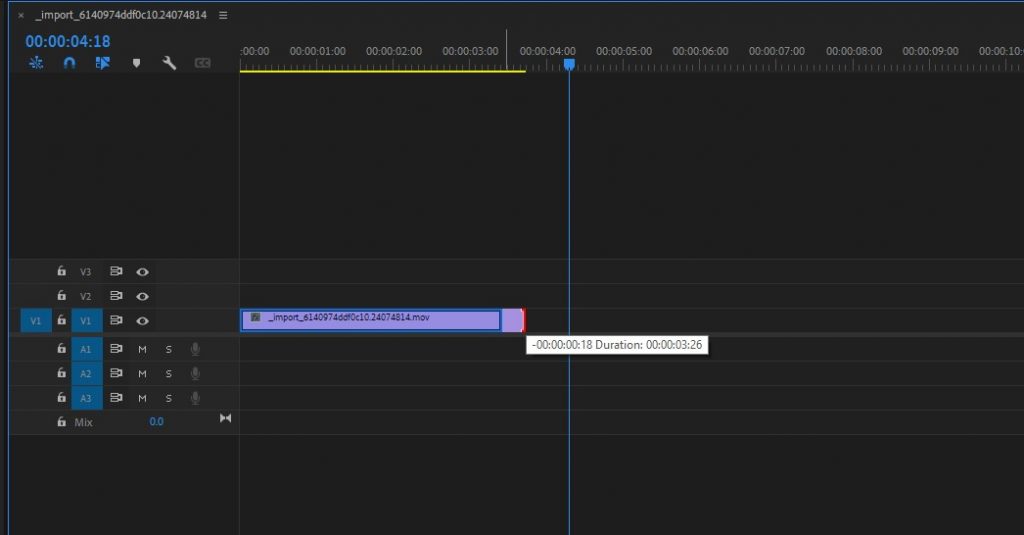
You can further tweak the length of a clip by simply dragging on the head or tail of that clip to extend it or make it shorter. You can do this with the standard pointer tool. Premiere will also bring up a little indicator to let you know how much you’ll be extending it by and what the final play time will be.
Transitions
Lastly, you can’t talk about cuts without discussing transitions. Simply speaking, cuts are the most basic transition in video editing, but there are thousands of transitions you can use.
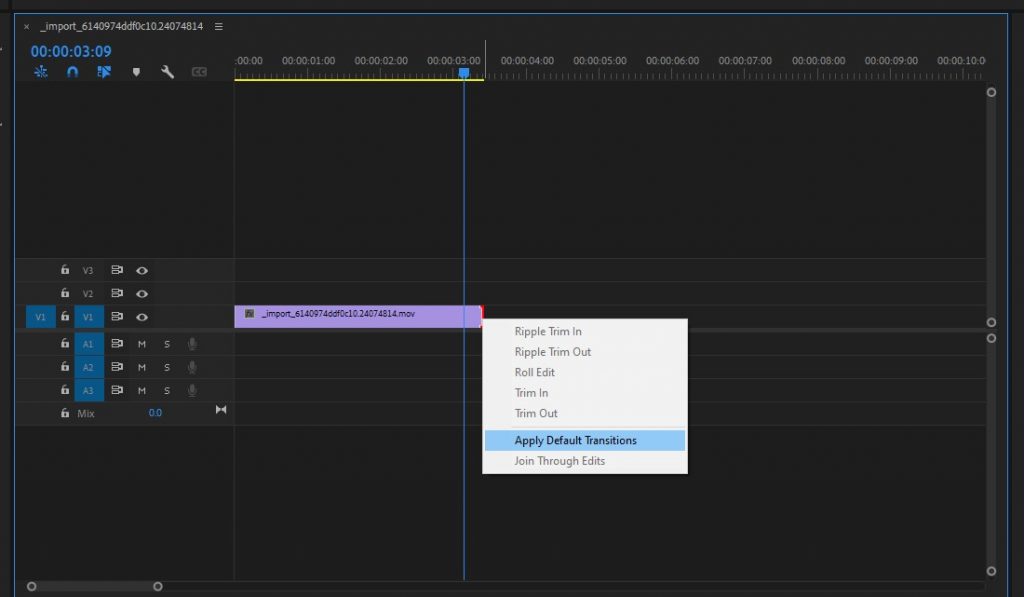
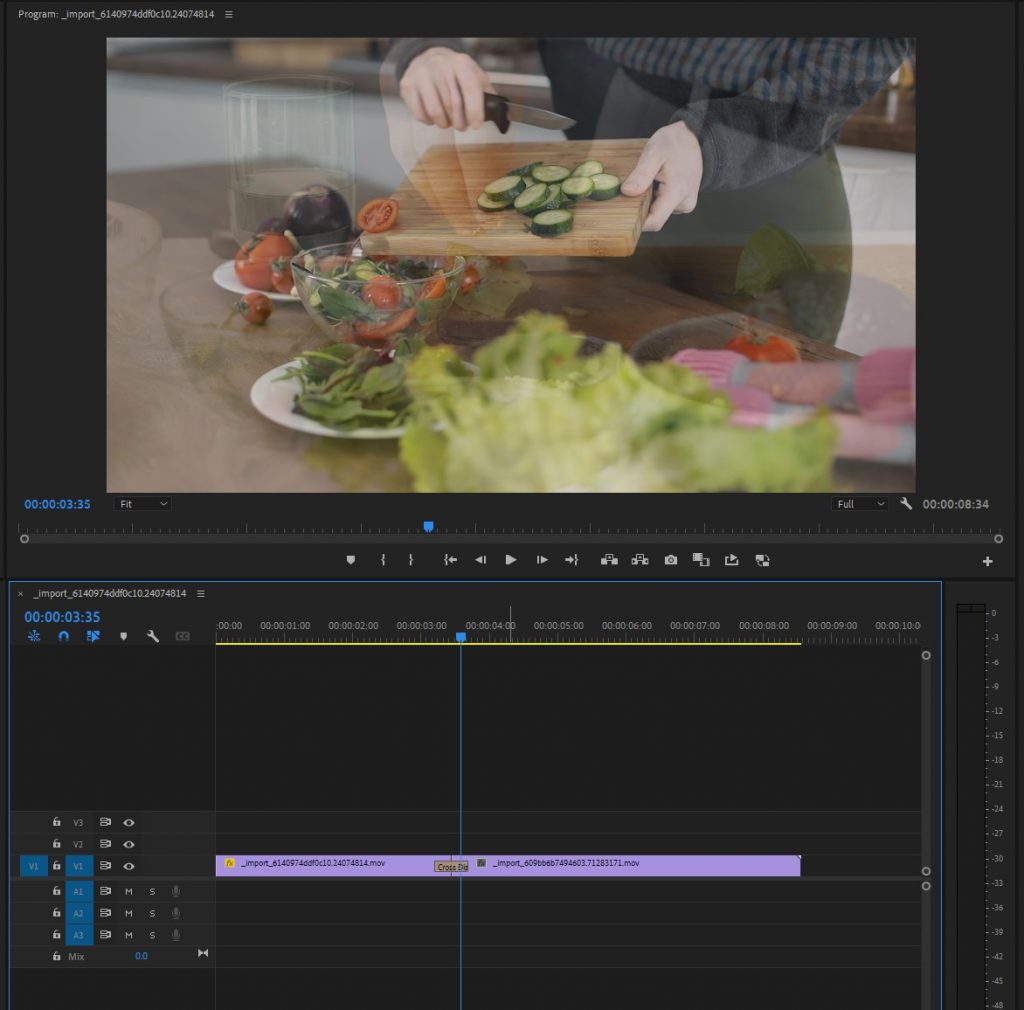
The easiest way to add a transition effect in Adobe Premiere Pro is by using the “Default Transition.” Default Transitions (unless you’ve changed it) is a 1-second cross dissolve. This means the transitioned clips will fade in/out of one another over a 1-second timeframe. If this is at the end of a video with no other clips attached, it will simply fade to black. To add the default transition, simply right-click the end of your desired clip. The option “Apply Default Transition” should be available. Now you’ll see a little grey tail overlaid across the two clips, indicating a transition is present.
The shortcut for Default Transitions is Control+D. This will apply the transition to any clip selected or highlighted and can be a great tool for things such as slide shows.
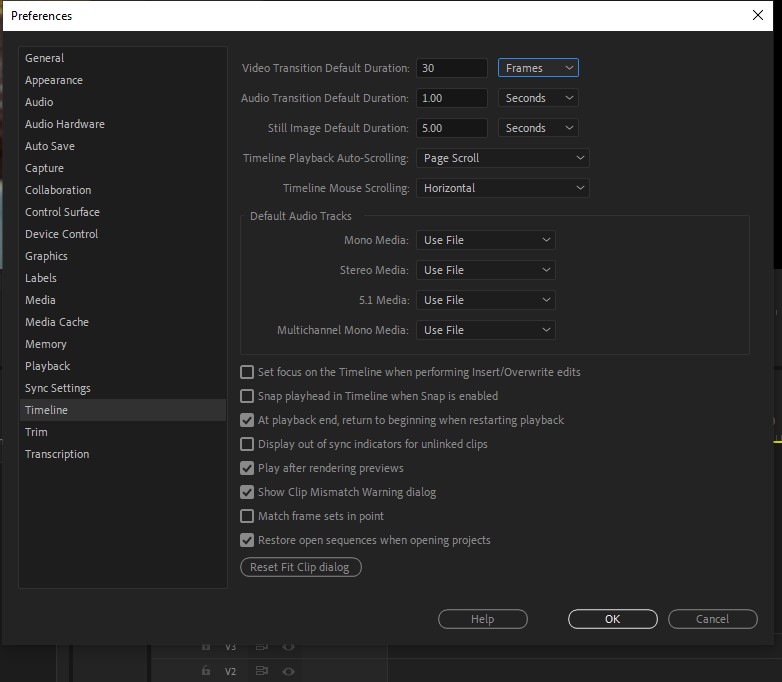
(Tip: You can change the Default Transition specifications to your liking in the Preferences Panel. You can find this by going to Edit > Preferences > Timeline. Personally, I prefer a shorter, 10-15-frame transition. )
If you’re not a fan of the default cross dissolve, Premiere has many great transitions in their effects panel, like star-wipe. I know there are other transitions than star-wipe, but “Why eat hamburger when you can have steak?” Simply find the transition you’d like to use from the list and drag it between two clips.
Cutting and subsequent trimming are really the basics of editing. While the days of actually cutting up film strips are gone, we still have to be meticulous about the clips we choose and how we trim them up. This quick overview should give more than enough tools to get started cutting like a Pro.
Looking for filmmaking tips and tricks? Check out our YouTube channel for tutorials like this . . .