In this tutorial, we explore how brightness allows you to manipulate a backdrop’s color.
Today, we’re going to examine how to transform a white backdrop into a black or grey backdrop using basic lighting principles. It might seem like a conundrum to enter a studio with a white background and think, “Okay, let’s make it black or grey,” but in fact, it’s not that difficult.
Before we dive into this tutorial, please check out our video on the best filming practices with a white cyclorama, which provides essential background information.
The Videvo Digital Set
So, this is actually a secret lesson on how brightness affects color and luminance properties, rather than a straight-up tutorial on making a white backdrop grey. Understanding these principles will allow you to manipulate a backdrop’s established color effectively.
First, we’ll head to our digital set that demonstrates the necessary elements. Welcome to the Videvo Backlot. Here, we have a variety of colorful props on our table, an 18K light, and our camera equipped with a 50 mm lens.
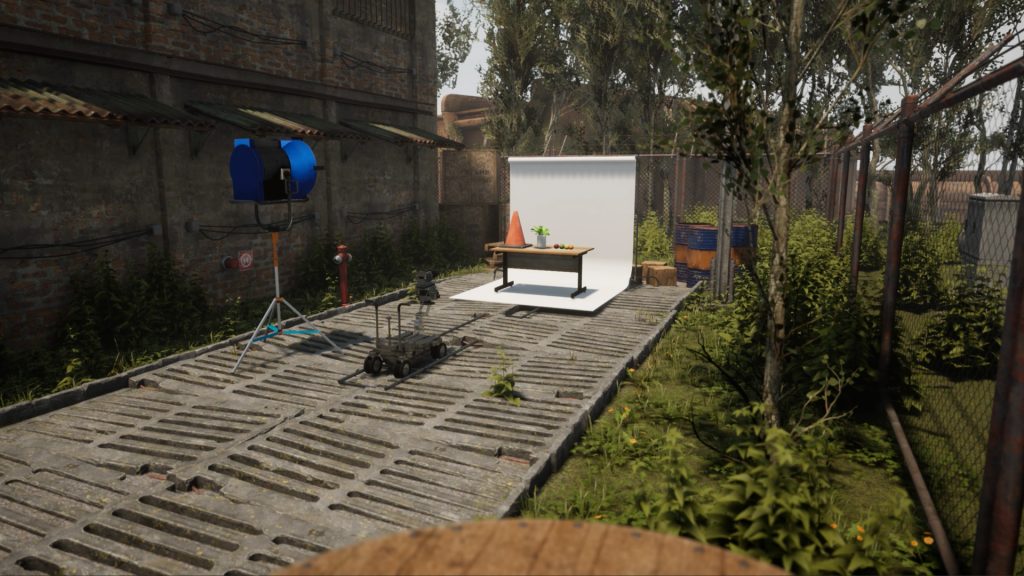
The human eye perceives color best in moderate ambient brightness. At this level, the full range of colors and their variations are visible, and an object’s color saturation appears true to its actual properties.

However, if I turn the light on and increase the perceived brightness of the objects, observe what happens to their colors.

When an object is too brightly lit, the light can wash out the color, making it appear less saturated.

We’ve completely altered the hue of these objects without adding any additional colors to the scene or even changing the white balance of the camera. We’ve simply added more light, which has changed the saturation of the objects.
Now, let’s see what happens when we remove the light, giving the day an overcast feel.
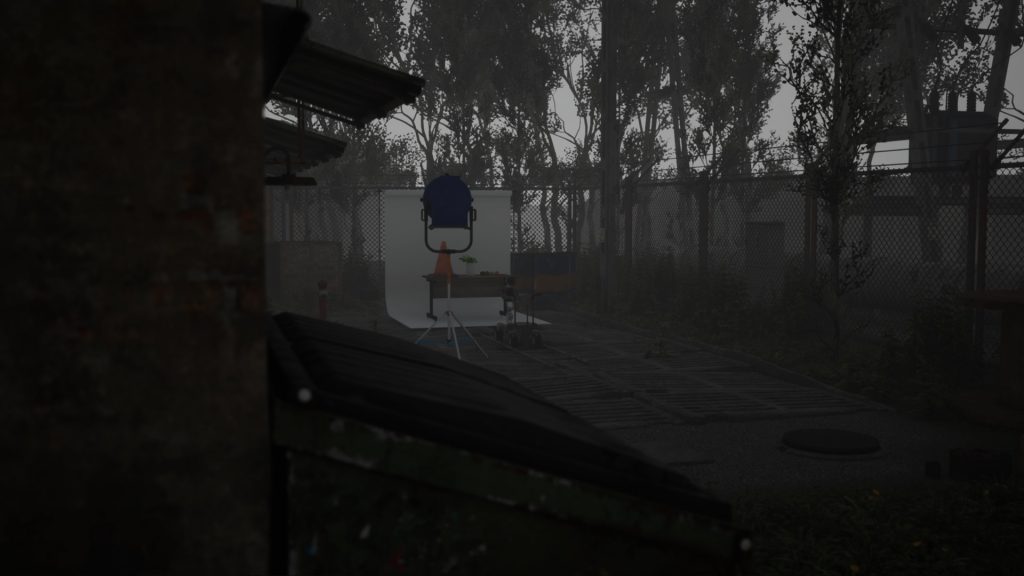
In low light, colors may appear less saturated, and the human eye becomes less sensitive to color distinctions. This is partly due to the Purkinje effect, where the eye’s sensitivity shifts towards the blue end of the spectrum in low lighting conditions.

As a result, vivid colors will seem more muted or greyish when they are not well-illuminated. Again, the hues of these objects have shifted simply by removing the light, with no need for post-correction or color filtration. However, these hues are no longer as they were in ambient light.
Reducing White to a Grey Backdrop
So, can we apply this concept to a white backdrop, considering that white has no hue? In a brightly lit condition, a white backdrop will reflect all the light, making our eyes perceive it as bright and white.

Now, if we lower the light, observe what happens. A white backdrop doesn’t receive as much light to reflect in lower light. Similar to the overcast example, the shift in appearance is rooted in how our eyes perceive brightness and color. In dimmer conditions, the backdrop reflects less light.

Since our eyes rely on light to perceive color, the reduced light makes the white appear less bright, taking on a grey-like hue. Unlike a colorful object, there is no hue to shift, so we’re moving down the tonal values from white to grey and eventually to black.
While the backdrop is still white in reality, we have made it appear grey without the necessary light to illuminate it. The secret is simple: lower the amount of light on the backdrop to change it from white to grey.
However, a key element to employ is to ensure that your talent is significantly away from the backdrop is important so you can illuminate them separately. This prevents their lighting from falling onto the backdrop and making it appear white again.
Looking for filmmaking tips and tricks? Check out our YouTube channel for tutorials like this . . .
