You can create a zoom effect in post-production using Adobe Premiere Pro. Here’s how.
Creating a zoom effect after the footage has been shot in Adobe Premiere Pro is a standard tool in an editor’s bag. Let’s walk through how you can do this quickly.
What is a Zoom Effect?
Just like you would zoom with a lens, we can replicate a similar effect in editing using just a few tweaks. This means we’ll push into or pull further out of footage to get a narrower or wider view. This effect can transition over the course of the clip or simply crop into the footage to give a different field of view than what you recorded.
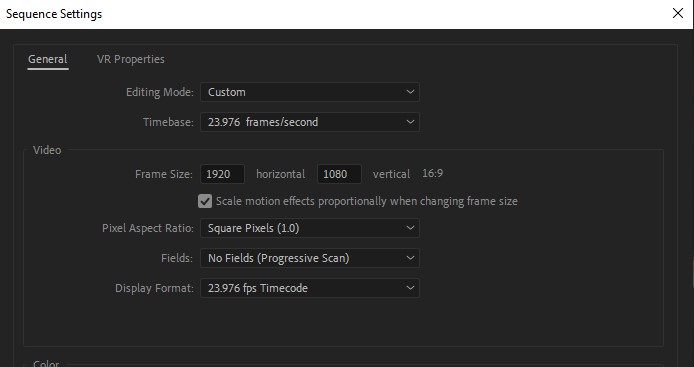
A great tip is to use footage that is a higher resolution than your timeline or final output. This gives you the real estate to actually zoom into real pixels, rather than digitally upscaling or cropping in. Luckily, in 2023, there is no shortage of 4k+ cameras, and it’s still fairly standard to deliver your final videos in 1080p. If you’re delivering in 4k, you may see some loss in quality by zooming into footage that is already 4k.
Why Use a Zoom Effect?
There are many reasons why you might want to zoom into your footage. Let’s break down some of the most popular reasons . . .
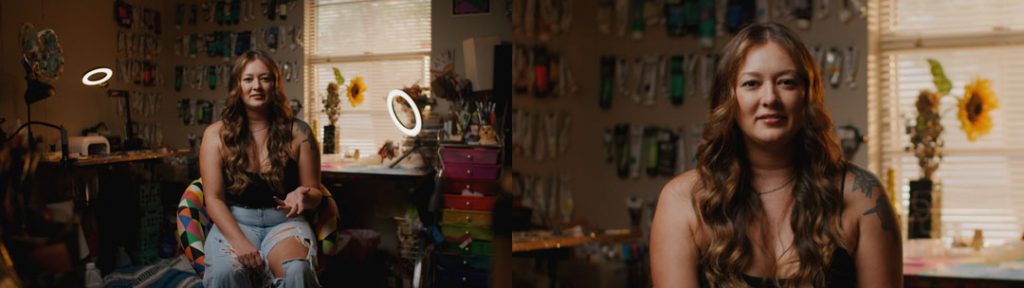
- Reframing — by zooming into the footage you can reframe your shot to omit other objects in the frame or give a more detailed view of your shot. The flexibility to reframe a shot is the main reason I prefer to shoot all of my footage in a much higher resolution than I know I’ll be editing in.
- Fake Alternate Angle — similar to reframing, often interviews are shot with a single camera at a high resolution, and by simply punching in (zooming) into the same frame, the shot looks different enough to operate as a unique angle. Essentially you’re getting two cameras for the price of one.
- Visual Engagement — zoom effects can add visual interest and engagement to your video content. This can draw your viewer’s attention to something specific or give your footage a little bit of movement so it’s more engaging.
- Professional touch — similarly, adding a bit of movement by zooming in can give your shot a professional touch, rather than a simple static shot.
- Creativity — zooming in and out of a single shot can be really fun and exciting given the right project, like a music video or narrative project.
How to Create a Zoom
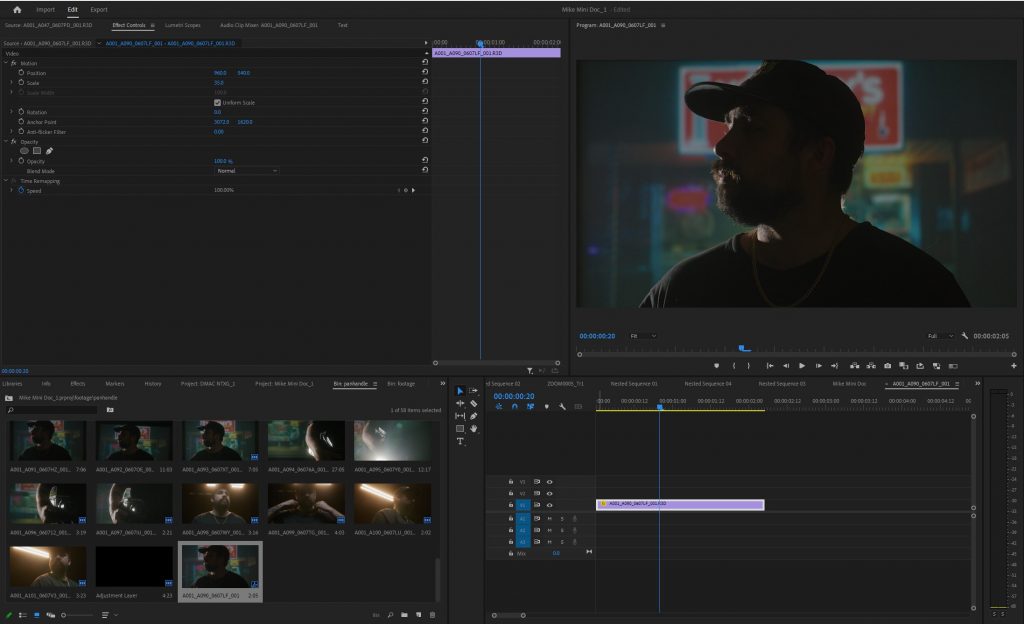
First, you’ll want to have a Premiere Project open and a timeline started where you’ll drop your clips. Drag your clip onto your timeline, and place it where you’d like to be and how long you want it to run.
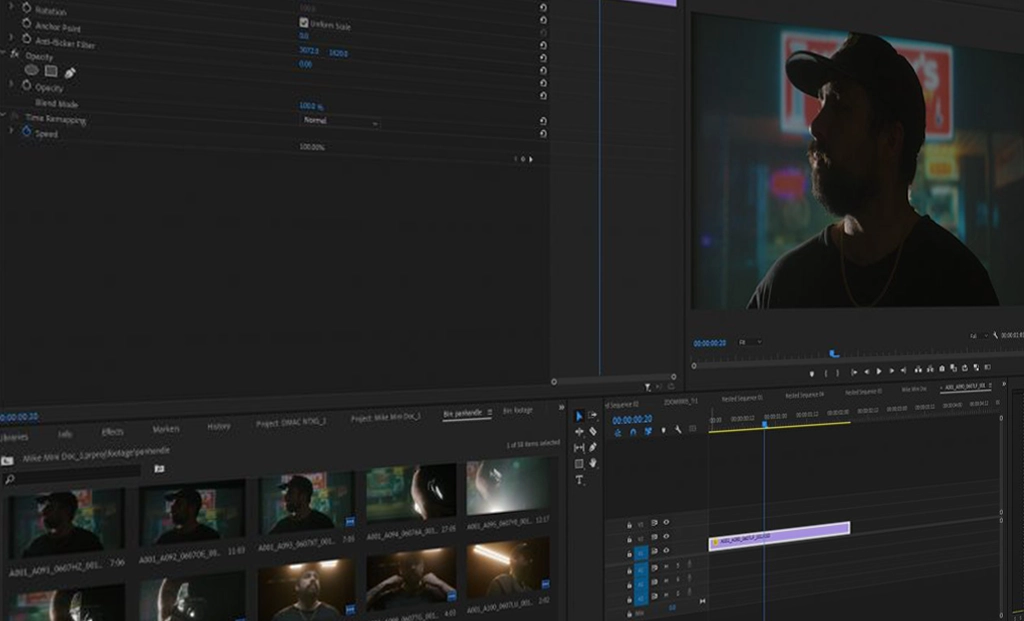
Clip on the clip in your timeline and go to the Effects Control panel. Here you will see the property “Motion” with a few options below it — “Scale” and “Position.” The clip should already be set to Scale: 100, if you haven’t made any changes prior to dropping it in.
Scale is how you affect the size at which the clip is viewable in the timeline, relative to the timeline’s resolution. If your clip is in 4k, but the timeline is in 1080p, the clip will appear already zoomed in a little. Setting the 4k clip to 50% scale will now be the same size as the 1080p timeline.
If you’d like to reframe this clip, adjust the scale to the precise percentage that you’d like in this panel. Perhaps a 75% Scale is where you want it, punching into the clip a little but also giving more room for adjustment later.

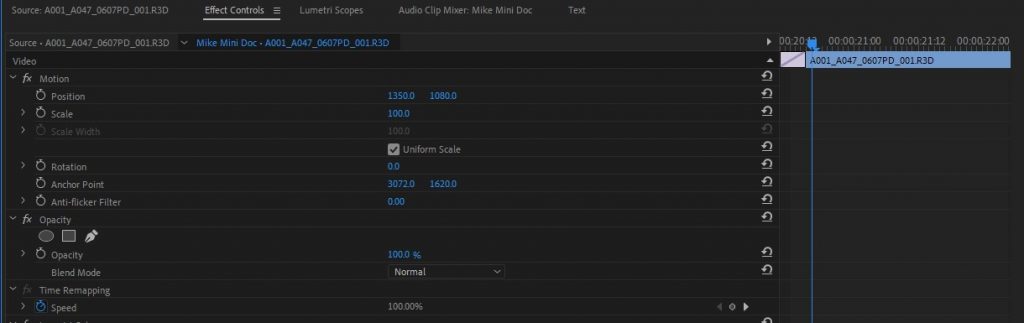
Secondly, you can adjust the “Position” to affect where exactly you’re zooming into on the clip. The default will be the center of the clip unless the position or anchor is adjusted.
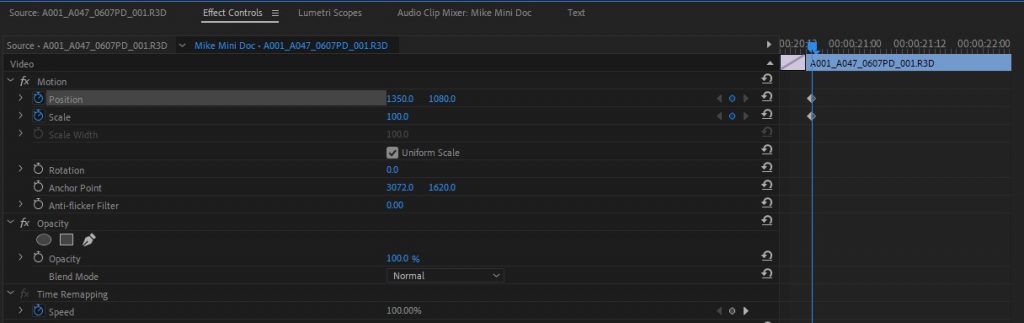
If you want to take this a step further and create a live zoom effect, this is where it gets interesting. We’ll want to first enable keyframes on both the position and scale options. This means we can set in and out points of where we want our zoom to begin and end.
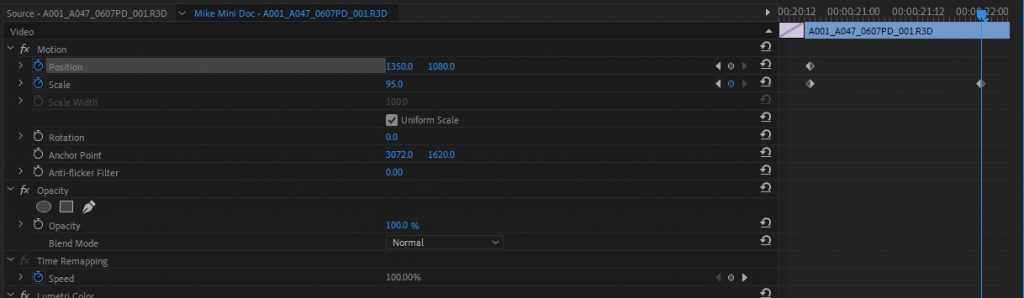
To zoom out, we’ll start with our first Scale keyframe at 100%. We are zoomed in all the way to this clip. After a couple of seconds, we’ll place our second keyframe and set it to 95%. This will add a little bit of motion, but nothing dramatic.
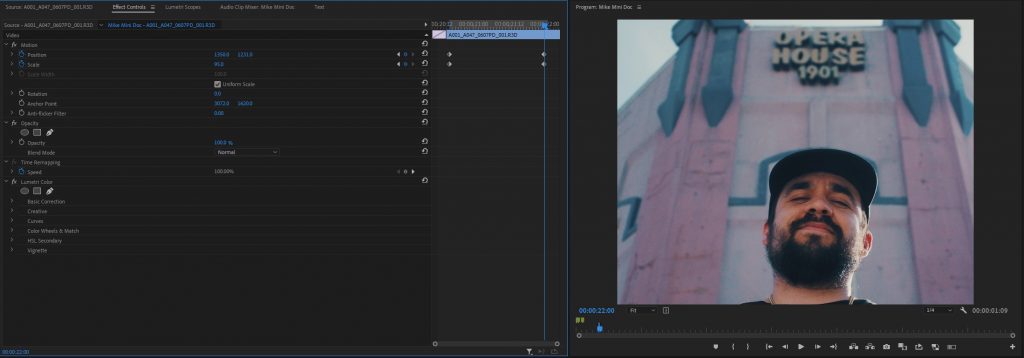
Since the position has not been adjusted, the zoom is happening toward the center of the frame. Go back to where the first keyframe of the zoom started, and add a keyframe in the Position now. Adjust the framing to your liking. Now do the same with the last keyframe.
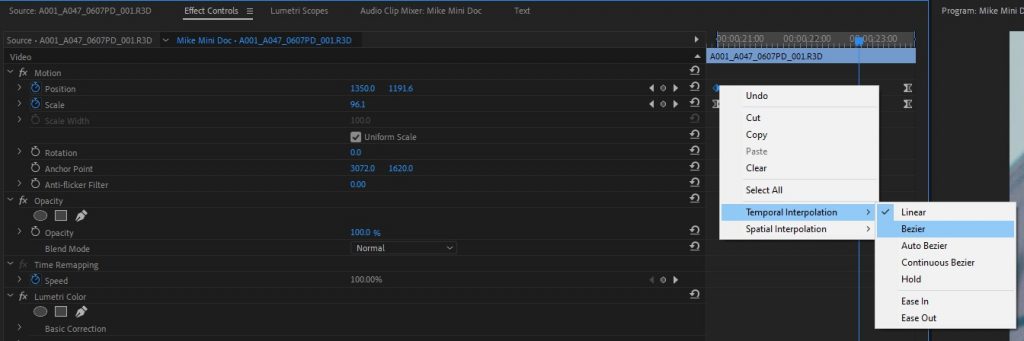
The one downside with standard keyframes is that they travel linearly from one position to another. If you’d like to add a bit of finesse, you can add a bezier curve. This will slowly ramp and slow down the transition toward the beginning and end of the effect. Instead of diamonds as your keyframes, they’ll look like hourglasses.
Using a zoom effect in Adobe Premiere Pro is essential for video editors. It’s a versatile tool that can be used for storytelling, visual engagement, and creative expression. Work through these steps and fine-tune how you can use digital zooming in your own projects.
Looking for filmmaking tips and tricks? Check out our YouTube channel for tutorials like this . . .