If you want to start podcasting, this is all you need to know about the gear you need to get started.
The cost of entry is low for podcasting compared to videography, but you’ll need to invest in a good microphone. Like most products in the audio space, subjectivity plays a large role in determining the quality. Price alone isn’t the principal factor, as budget mics can sound as good as more expensive counterparts with good sound mixing.
Any microphone that sounds good out of the box is a good pick, but with so many microphones from various brands, picking the right one is overwhelming. However, we’re here to separate the wheat from the chaff, pointing you in the right direction whether your budget is $100 or $400.
Which Is Better for Podcasting, XLR or USB?
Microphones come with one of two connection types: XLR or USB. USB mics plug directly into your computer, phone, or tablet; they only need recording software. XLR microphones run on an analog connection, relying on an audio interface to turn the analog microphone signals into digital signals. Which is best for you will depend on your budget, though there is more you should know about each of them before deciding.
XLR Microphones
In the long run, XLR microphones are a better investment. These microphones use a three-prong XLR connection that passes through a separate audio interface before reaching your computer. While XLR microphones require additional steps to set up, they tend to last a long time. Despite a lack of built-in features, XLR microphones are versatile, with different audio interfaces able to add features and improve the microphone’s sound. Additionally, it’s much easier to host a multi-microphone podcast with an XLR since there are audio interfaces with up to eight XLR ports. Because of these reasons, XLR microphones are the better choice. They can grow with you as you continue to podcast and invest more in your equipment.
USB Microphones
While I believe XLR microphones are a better pick, you shouldn’t discard USB microphones just yet. I spent many years using USB microphones, and I still miss some features. For one, USB microphones are plug-and-play, a big selling point if you’re not as knowledgeable about audio equipment or computers. The built-in features are another reason — they vary from one microphone to another. In most cases, you can expect a gain dial, a volume dial, and a headphone jack for monitoring sound. Other USB mics may also feature a handy mute button or a button that changes the microphone’s polar pattern. Another advantage is the software, which can add even more features, such as a high-pass filter or limiter.
Price Difference
Both types of microphones will work just fine for podcasters, or anyone who wants to create a radio station . One is more complicated to set up but provides the most potential, while the other is easy to use and can come with many convenient features. Yet, the biggest differentiator is price. A good USB microphone costs between $100 to $150 and requires no additional gear. However, a good XLR microphone can cost the same amount, but you may spend twice as much because the complete setup requires additional gear to function.
Should You Use a Condenser or a Dynamic Microphone
After deciding between a USB or an XLR microphone, you’ll have to pick between a condenser and a dynamic microphone. The biggest difference between them has to do with the capsule, the part of the microphone that receives sound waves and converts them into microphone signals. While we won’t dive into the nitty-gritty of microphone capsule mechanics, we will break down the strengths and weaknesses of each capsule.
Dynamic Microphones
Dynamic capsules are mostly found within XLR microphones, though exceptions like Razer’s Seiren V2 Pro microphone exist. The biggest advantage of dynamic microphones is their low sensitivity, which translates to less noise. They’re the perfect choice if your recording environment is very noisy. You’ll want a dynamic microphone if your podcasting setup is beside a window facing the street, a computer with loud fans, or A/C vents. It can be cheaper and more convenient than treating a room for sound.
The low sensitivity is also a disadvantage for dynamic microphones. You may have to sit very close to the microphone or crank up the gain on your audio interface if you want your voice to come through at a loud enough volume. Dynamic microphones don’t pick up vocals as well as condenser microphones, which may result in vocals that don’t sound as rich. It’s a small price to pay when you don’t have to cut every sigh, cough, or loud breath while editing the audio.
Condenser Microphones
A vast majority of USB microphones use condenser capsules. Unlike dynamic capsules, condenser capsules have a high sensitivity. That makes condenser microphones better at picking up your voice clearly, even if you’re a few feet away from the microphone. Condenser capsule microphones are also better at capturing vocals, resulting in rich-sounding audio perfect for podcasting or voiceovers.
The downside of having a microphone with high sensitivity is that, unless your recording environment is treated, you’ll spend a lot of time editing. Condenser microphones can pick up everything from the sound of your breath to the sound of a car zooming by your street. If you’re going with a condenser microphone, plan on learning to use audio editing tools like a high-pass filter, compressor, and limiter.
Best Beginner USB and XLR Microphone Under $150
These are the best beginner microphones for under $150:
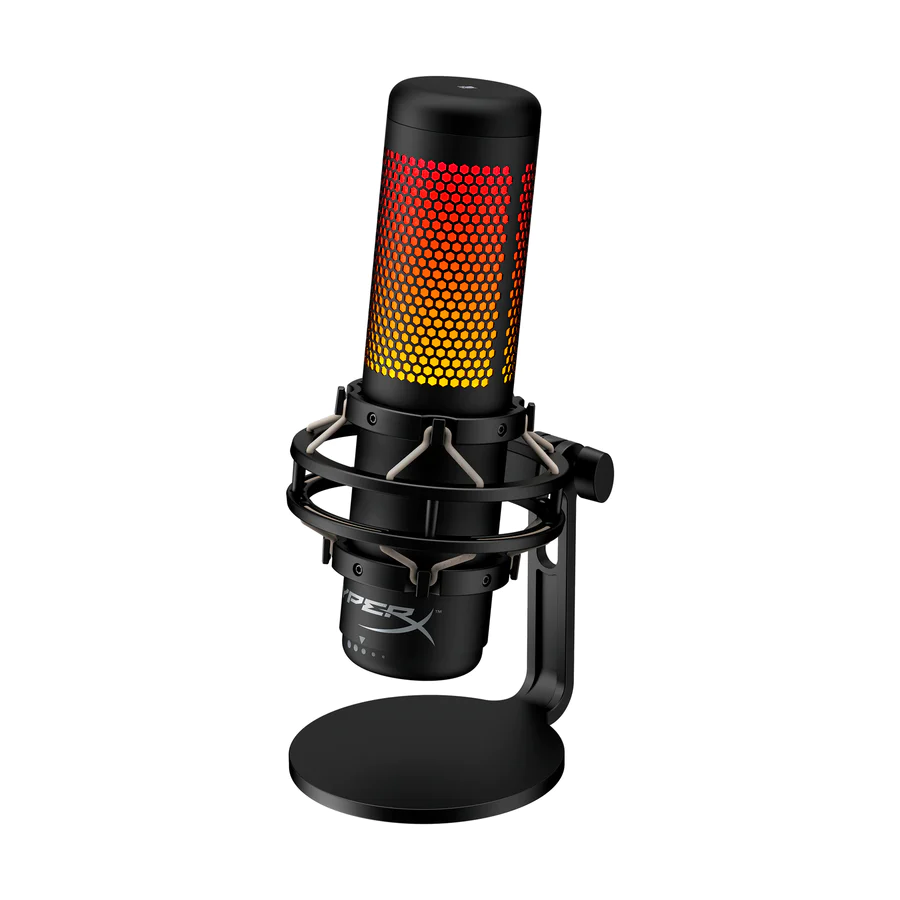
Best USB Microphone Under $150: HyperX QuadCast S ($160)
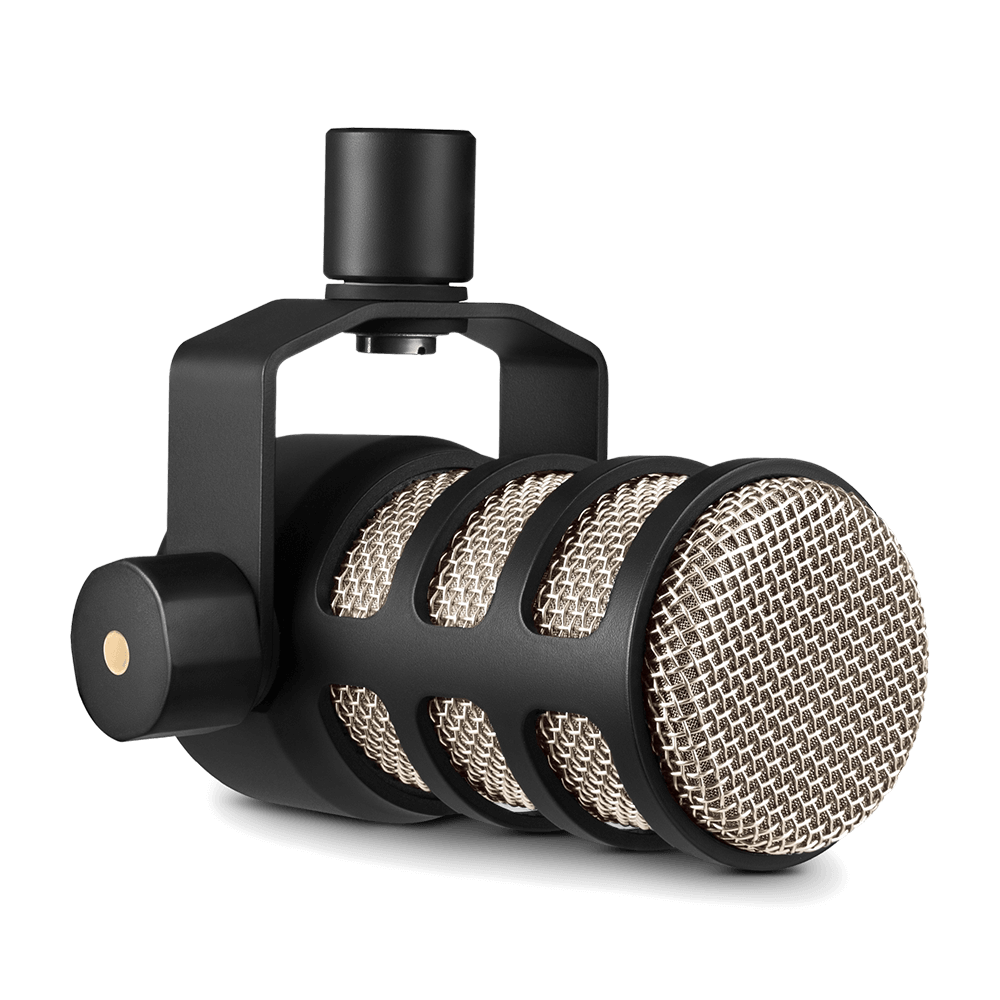
I’ve used XLR microphones that cost over $200 that didn’t sound as good as the PodMic. With an all-metal construction, this microphone weighs more than you might expect. However, it feels quality made and sounds even better than it looks. This powerhouse of a microphone has a rich, full-bodied sound that’s even better with the right audio interface. RODE designed the PodMic with budget-conscious users in mind, including an internal shock mount and pop filter.
Best Intermediate USB and XLR Microphone under $250
These are the best intermediate microphones for under $250:
Best XLR and USB Microphone Under $250: Shure MV7 ($250)
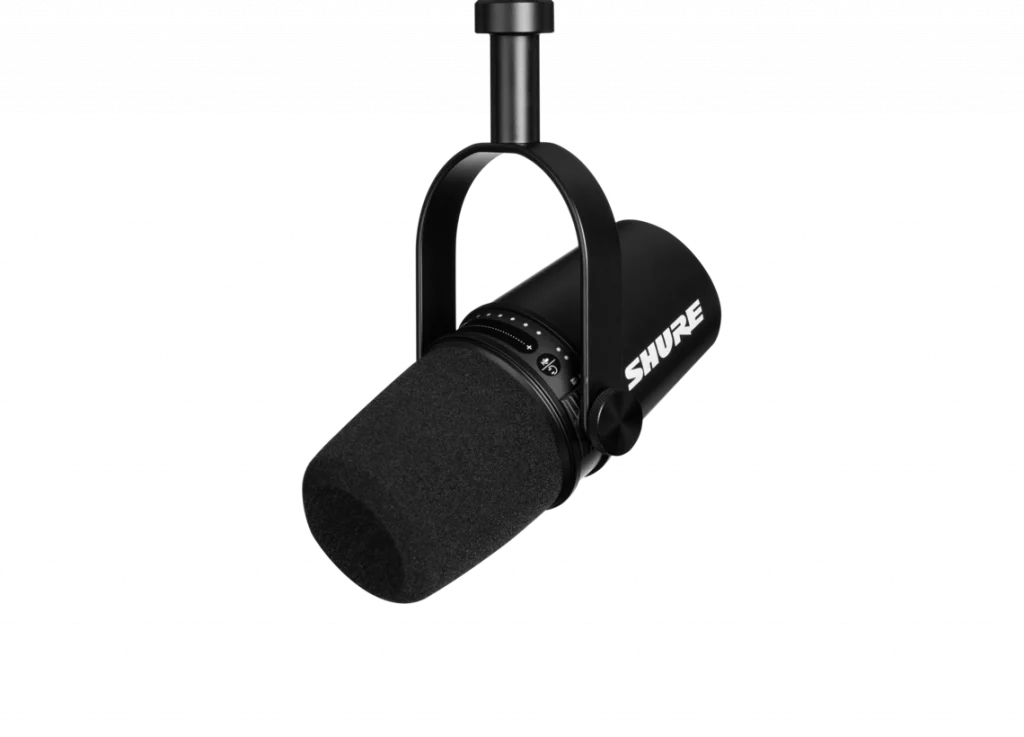
There’s only one option here because the Shure MV7 works as an XLR and a USB microphone. The price may be steep if you’re on a budget, but the MV7 can save you money in the long run, as you won’t have to buy an XLR microphone once you outgrow a cheaper USB microphone. This dynamic microphone is the best of both worlds, and because it’s based on Shure’s legendary SM7B, it sounds incredible.
Best Professional USB and XLR Microphone Under $400
These are the best professional microphones for under $400:
Best USB Microphone Under $400: RODE Podcaster Studio Kit ($329)
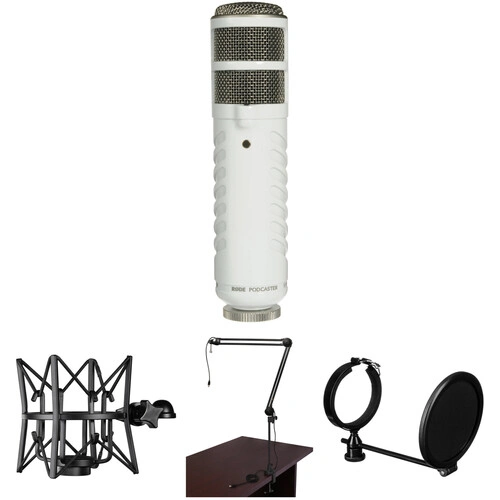
You won’t find a lot of USB microphones over $250. However, if you have $400 in your budget, you could get this RODE Podcaster bundle, which includes a professional shock mount, boom arm, and a pop filter. The RODE Podcaster uses a dynamic capsule, making it the optimal choice for untreated recording environments. Despite being a USB dynamic microphone, this is still a RODE microphone, meaning you can expect a deep, rich sound.
Best XLR Microphone Under $400: Shure SM7B ($400)
The SM7B needs no introduction or justification. It has been the go-to microphone for musicians, broadcasters, videographers, and sound engineers since the debut of the SM7 in 1973. Since then, the microphone has undergone two updates, with the SM7B release in 2001 being the latest revision. If you have the budget for it, you won’t be disappointed by the SM7B. Just have a listen.
Additional Podcasting Gear You’ll Need
With a microphone in place, you only need a few more things to start your podcast. Most of the items are not necessary, though this gear will make podcasting much easier while you podcast and as you edit.
Audio Interface (XLR microphones only): Focusrite Vocaster Two ($250)

I’ve used several audio interfaces over the years, and the Focusrite Vocaster Two has made the biggest impact. Designed specifically for podcasters, this audio interface has every feature you could ask for, including two XLR connectors, a built-in EQ button, automatic gain, and three knobs for adjusting gain and headphone volume. In addition, you can hook up a camera directly to the Vocaster Two’s audio output port, allowing you to record videos with high-quality audio. Another feature allows you to add additional audio inputs from your phone via Bluetooth or a 3.5mm connection. Coupled with the Vocaster Hub audio that lets you customize EQ settings and pipe in computer audio from sources like YouTube or Spotify, the Vocaster Two is undeniably a podcaster’s dream audio interface.
Headphones: Audio-Technica ATH-M50X ($169)
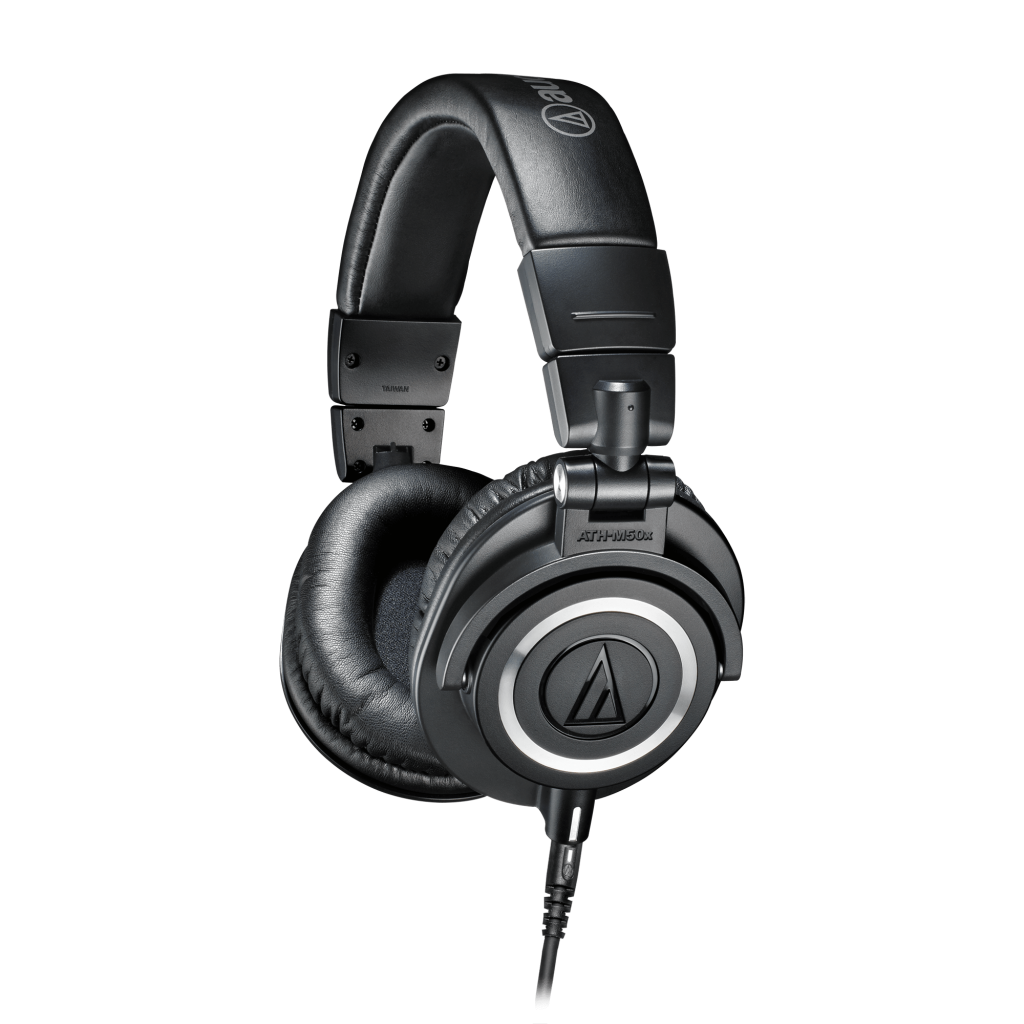
You can’t use just any pair of headphones to monitor audio, as most manufacturers will design headphones and earbuds with distinct qualities that alter the sounds. What you need are monitor headphones because they have a neutral sound profile designed to relay audio as it was meant to be heard. You can get decent-sounding monitors for as low as $50, but you should consider Audio Technica’s ATH-M50X cans if you’re serious. These lightweight monitors are incredibly durable; I’ve had my pair for over five years and only recently replaced the ear pads. At $169, they’re not the most expensive monitors, but they’re the go-to cans for sound engineers and music producers because their quality is unmistakable. These headphones are often sold for under $150, so stay vigilant. There is also a Bluetooth variant, though I’d stay away as the sound delay from the wireless connection is not ideal for live monitoring or editing.
Cover image via Freepik.
Looking for filmmaking tips and tricks? Check out our YouTube channel for tutorials like this . . .