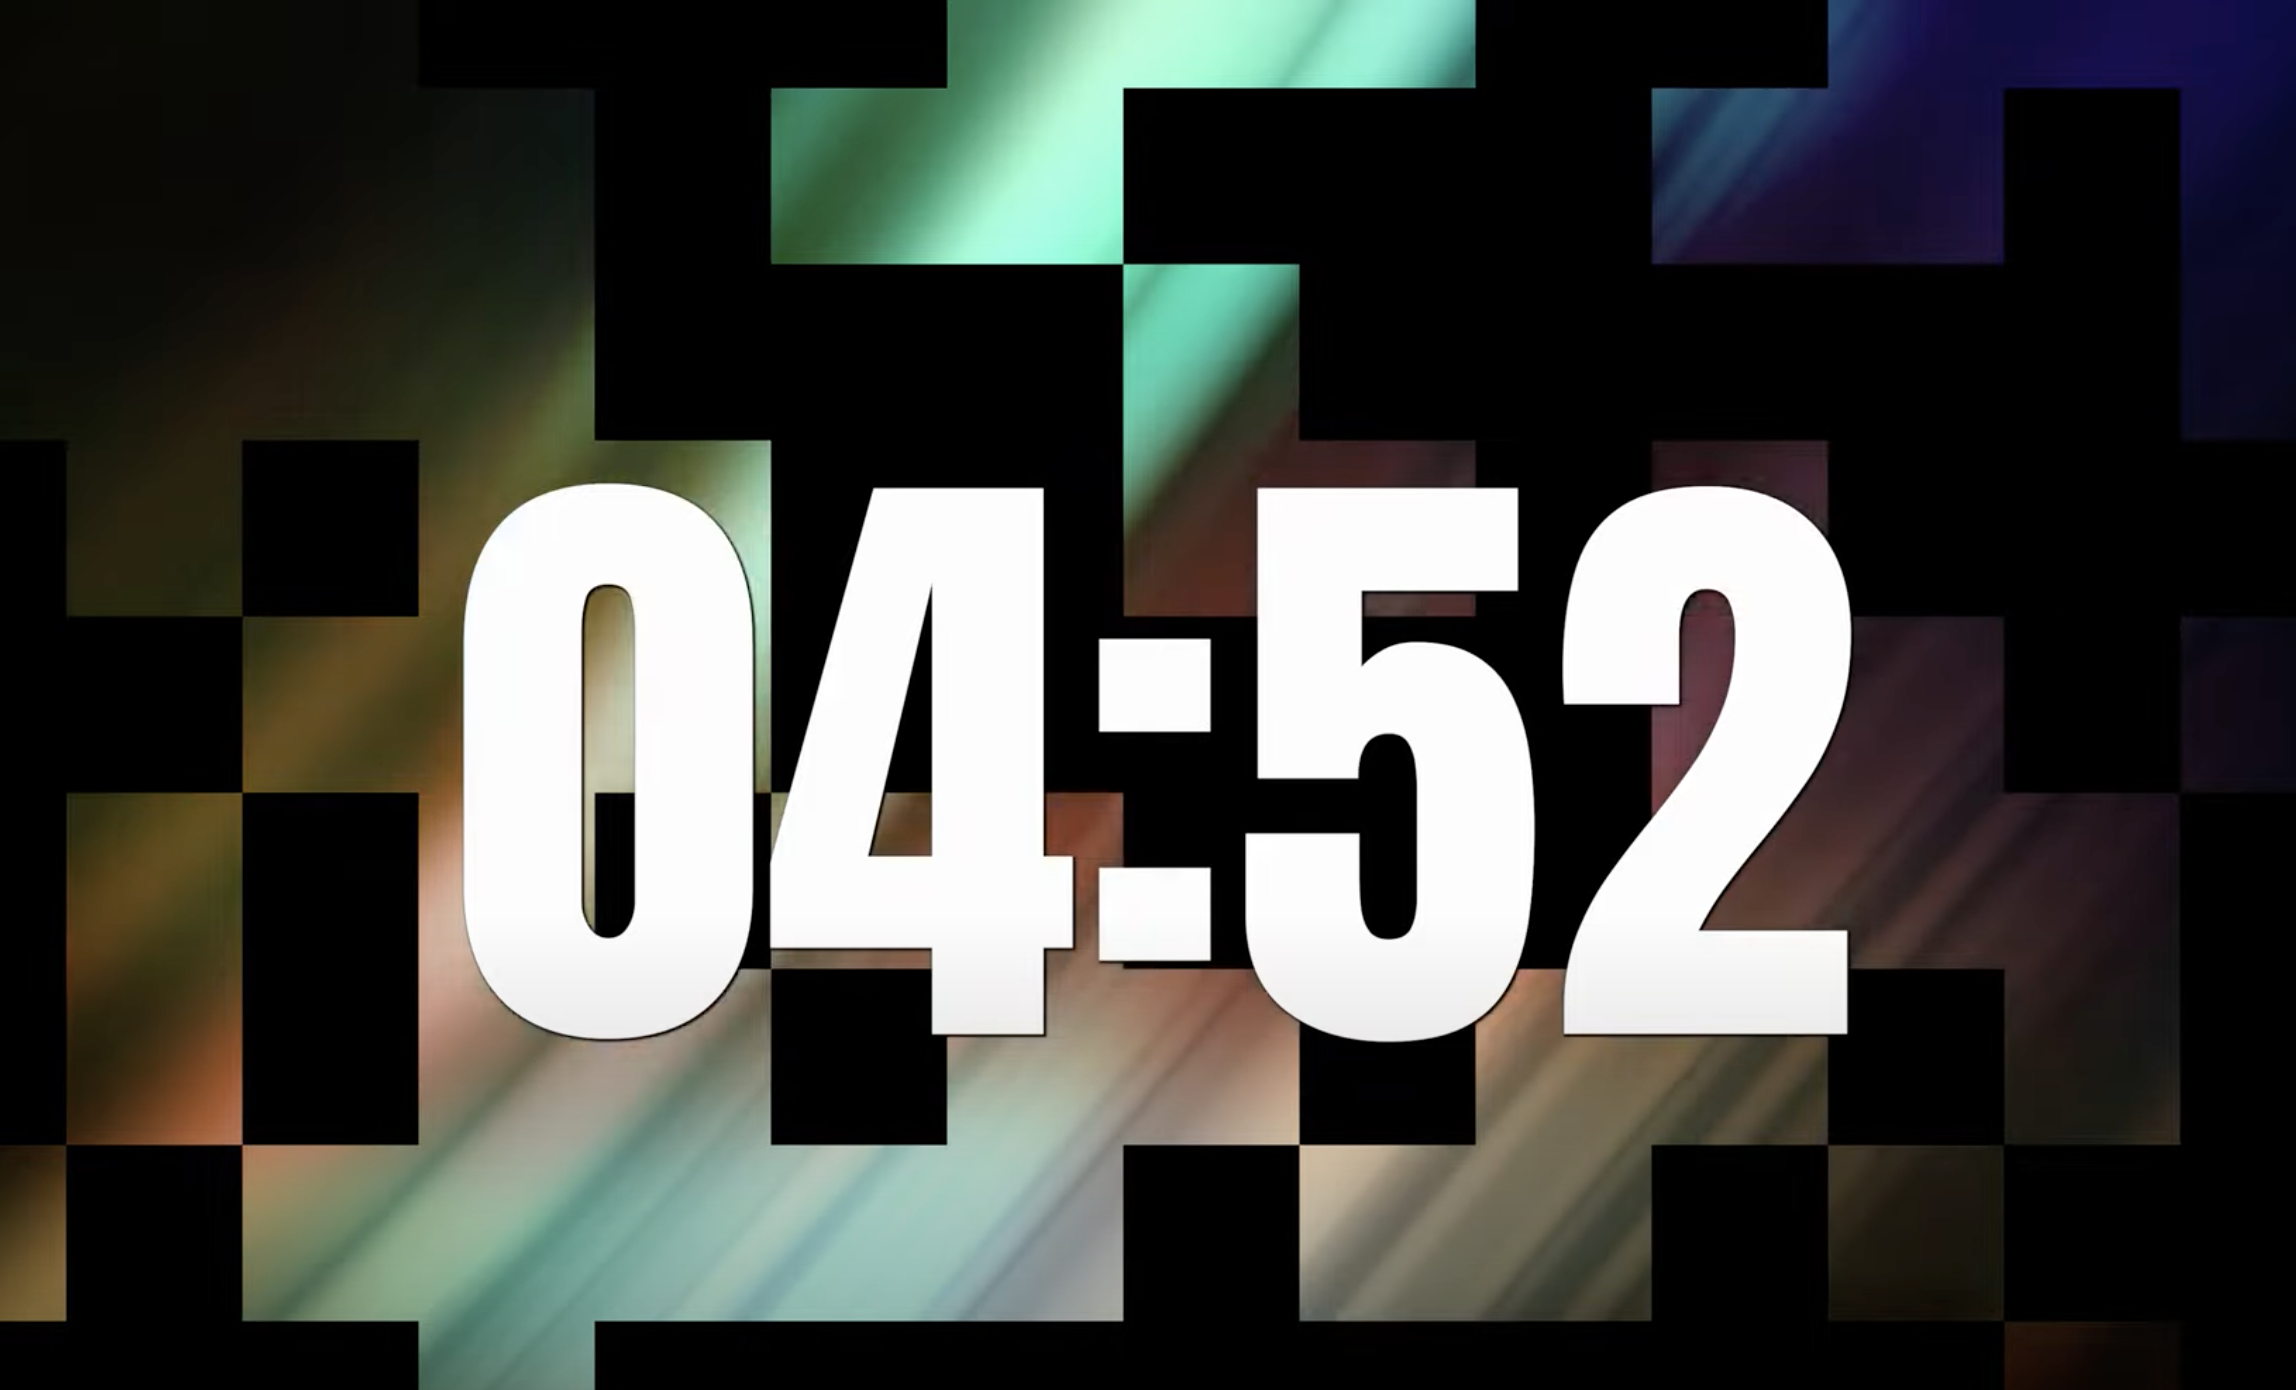
Have you ever wanted to take a stab at motion design? While a software like After Effects is the go-to for professionals, our friends at Storysium have put together a simple tutorial to create a template for a customizable Countdown Timer in Premier Pro.
Don’t let yourself get intimidated by terms like “templates” or “motion graphics”: this process doesn’t use much more than basic tools like a text layer.
We highly encourage to watch the full tutorial linked above, but we leave a quick recap here for our readers.
We suggest that you first download the .srt file (available here). This will come in handy very soon.
To get started, open Premiere Pro and, as an optional step, import a background video. We suggest anything dynamic but not too distracting (animated backgrounds are perfect for ). Take note of the background video specs if you use one – the one used in the tutorial is HD 30FPS video, so these settings will be the ones used to create the sequence.


With the sequence created, you can now go to Premiere’s Text panel to create the countdown. Here’s the clever part of this tutorial: you’ll be using subtitles to create it! And here is where the .srt file you downloaded earlier comes in handy. Import it by clicking on “Import captions from file”.

If you’re wondering what the .srt file is, it is basically a subtitle file extension, which combines text and timecode data to display captions in a video player. This specific file you’ve downloaded is programmed to count down from five minutes to zero. You could try making your own version as well!

When prompted, indicate the format of the file as “Subtitle” and “Source timecode” as the Start Point.

You will now see that all the subtitles appear both inside of the Text panel and on the top of the timeline. We will want to edit them all at once, so proceed to zoom out the timeline and select all of them together:

Now you can go to the “Essential graphics” panel. Here you can adjust them as you wish – including the alignment, the font size, and the font itself. Bear in mind that by selecting tools like the text tool to resize the text box of a subtitle, all the other subtitles get deselected and only the selected one will keep the new settings. To apply the same settings across all of them, select the first one and click the top-facing arrow (Push to Track or to Style) and then select “All captions on track”.

You can further customize the countdown and change the coulours, add a stroke, backgrounds, or even a drop shadow.

Instead of keeping each subtitle frame as an individual element on the timeline, it is recommended to nest the sequence. This will make it easier to apply effects on the resulting new sequence, and since this is now a layer on the timeline, you can now add things on top or below the timer (for example, the background video we mentioned earlier):

You can add more creative effects, like a Block Dissolve effect to the background video as seen in the tutorial. If you didn’t use a background video, then you can export the countdown as a transparent video.

Congratulations, you have now created your first Motion Graphic Template! Naturally, the next step is saving this as a Template file, which Storysium also covers in the following video:


