Filming in natural fog is a rare opportunity. Here’s how to make the most of it!
Filming in fog is a rare opportunity. It requires a very specific set of weather conditions, and because of this, when the chance arises, you might find yourself unprepared for the unusual conditions. Today, we’re going to discuss several quick tips for filming in a blanket of fog.
Focal Length
Firstly, let’s talk about focal length. In a foggy environment, you may often see that in your close proximity, it’s not inherently foggy, only further away. So, if you want to visually show that you’re in a foggy area, shooting at a wider angle with the camera in close proximity isn’t inherently going to show that to the audience.
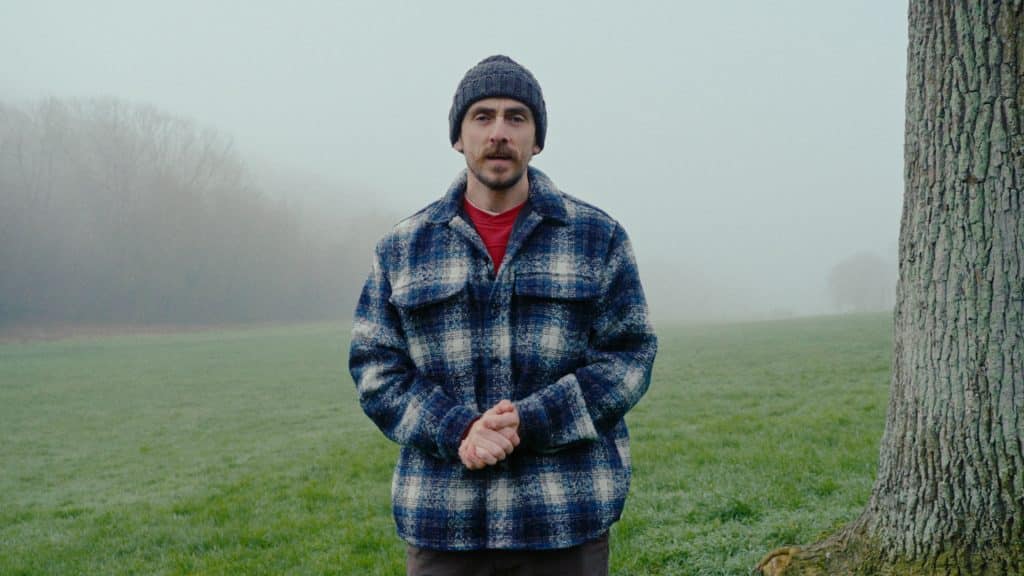
You’ll want to use a tighter focal length — we’re using 125 mm — and push the camera back. This will compress the space between the subject and, more importantly, the fog behind the subject. As a result, it will give the visual appearance that it’s very foggy everywhere. In the same way rain machines are used in production, fog machines are also commonly employed for a similar reason.
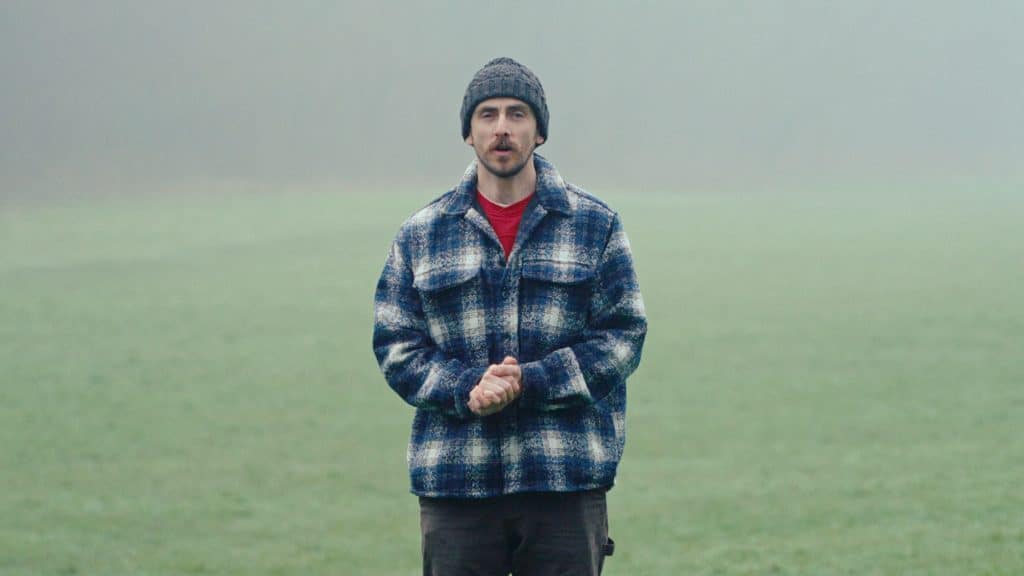
Here’s the thing, when you’re within a fog cloud, the density of fog around you appears consistent, that’s why you can’t really see it. However, the difference lies in the depth of view at a distance. You see the combined layers of fog from your position extending outwards, accumulating with each meter. Therefore, as noted, filming with a longer focal length condenses the surrounding fog around your subject.
Exposure in Fog
Regarding exposure, fog can be tricky because it reflects light, like snow, which may throw off the metering for a photographer. Your system may be telling you to reduce the exposure, but often, you can ignore this. As long as you’re within your legal limit and there hasn’t been any clipping, you should be good to go.
My FX6 monitor notifies me of high light; on your mirrorless, you may be told that you’re overexposed.
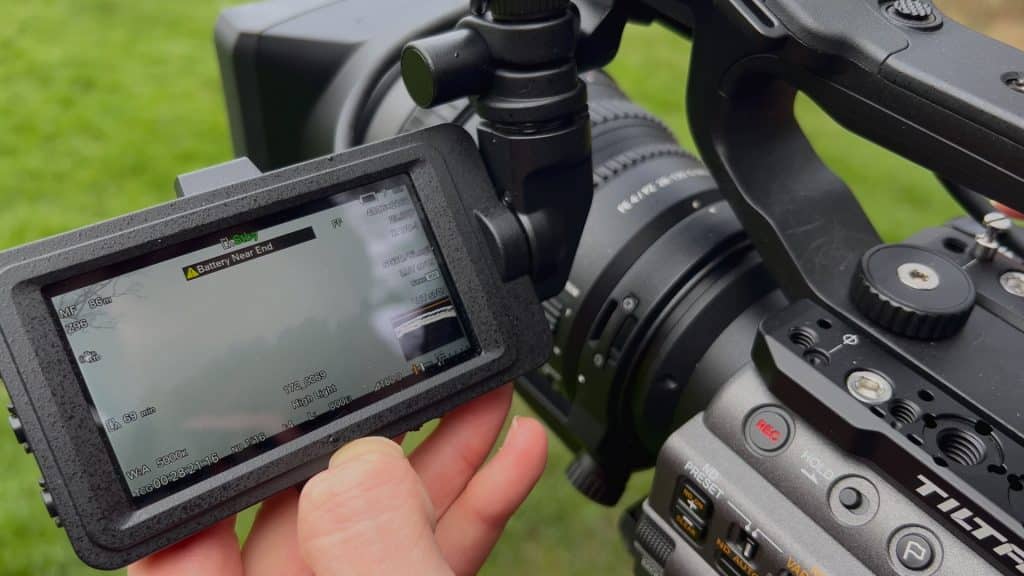
This is because an ample fog blanket is essentially one giant softbox, and when the fog and skies are in your shot, your camera’s meter system identifies the clouds as having too much light. But again, the key here is to pay attention to your legal values.
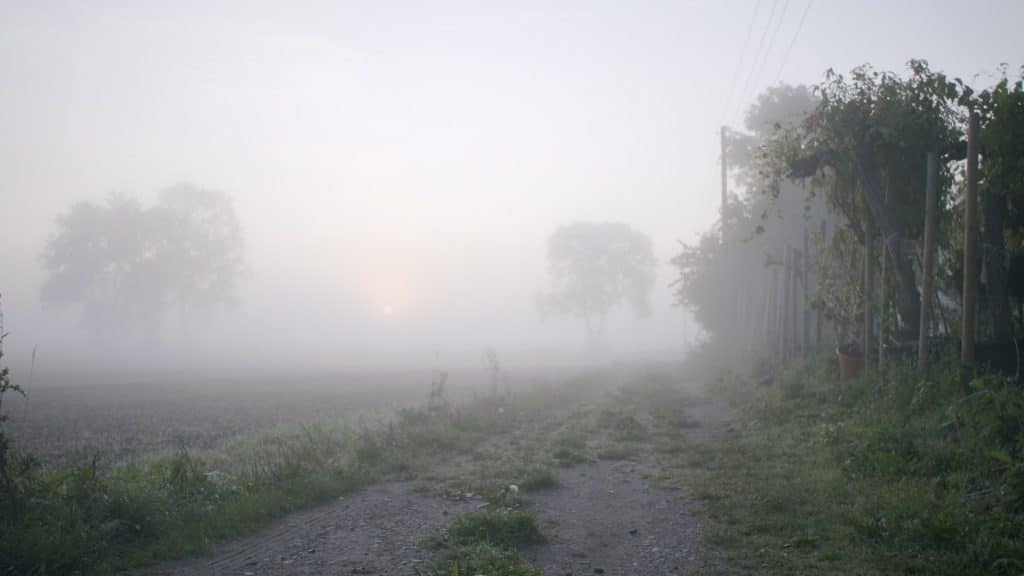
Bring up a histogram, and ensure that the highlight region isn’t pushing up against the top of the graph. Then, you’re all set to go.
Reduce Contrast in Post to Further The Effect
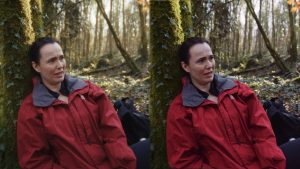
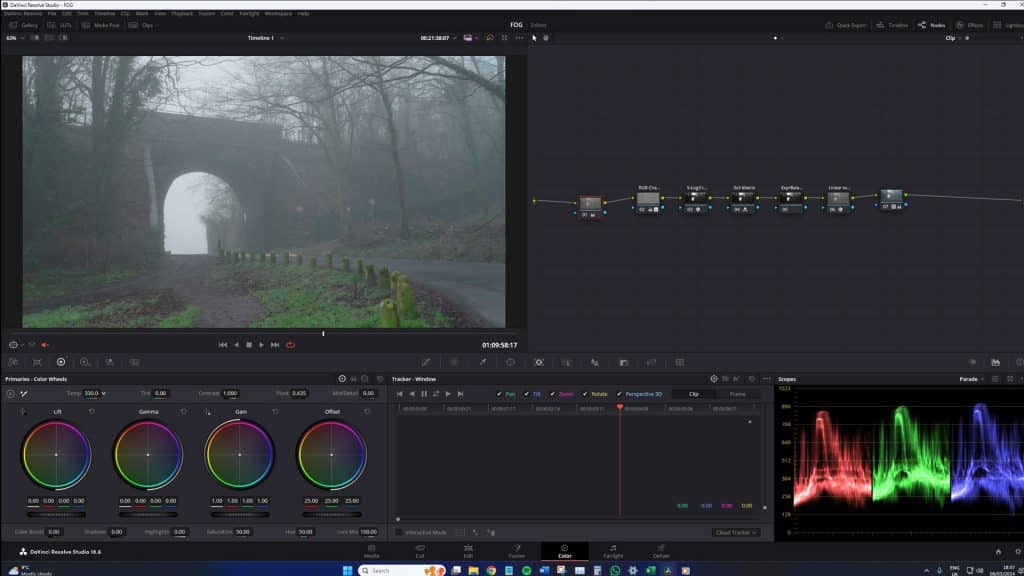
Now let’s talk about post-production tips. If you find that you’re still not capturing the desired amount of fog, there’s one simple trick that you can do to enhance it slightly: lift the shadows. A fog blanket naturally reduces contrast, so lift the shadow slider a touch to enhance the fog in the scene.
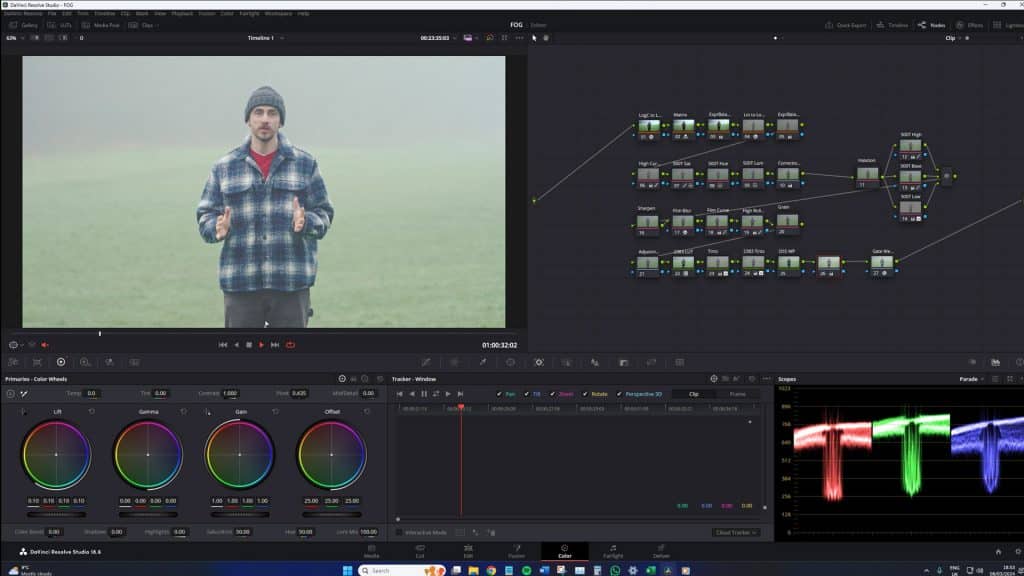
As a result, it will appear extra foggy. It’s worth noting that you might be inclined to add more contrast than usual as your scopes may linger within the mid-range. However, it’s essential to resist the temptation. It’s natural to have a lack of contrast in a foggy environment.
Color Balance
Secondly, fog can give a naturally cold look when filming with a daylight-based camera. While it’s tempting to maintain this cool color cast for its atmospheric effect, as well as being ideal in some situations, it can cause many elements to appear too blue or green.
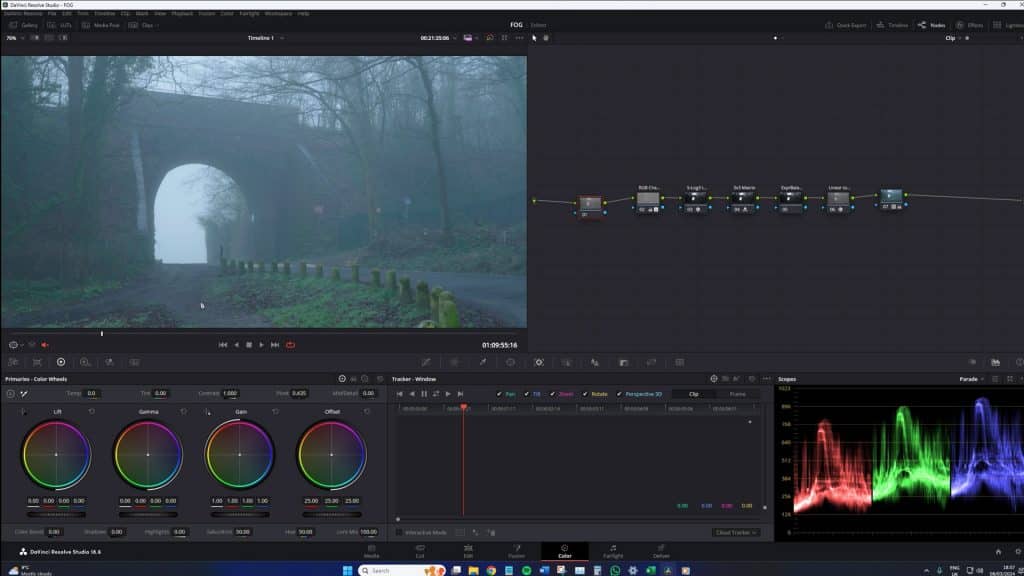
Therefore, try adding a slight bit of warmth to the scene. It’s still going to appear eerie and cold but not as extreme.
Is Your Camera Weatherproof?
Finally, let’s discuss weatherproofing. Many associate the idea of weatherproofing with the idea that the camera can withstand rain, and that is correct. However, weatherproofing technically refers to the protection against moisture dust, and fog. If you didn’t know, fog is essentially a collection of water droplets suspended in the air, a fact that you’ll quickly realize if you have a mustache.

However, if your camera isn’t weatherproofed and you intend to go about in a foggy environment, be sure to take extra precautions. And one simple extra precaution is to allow the camera and lens to acclimate to the outside temperature. You can do this by opening your gear bag while driving to the location, or if you are already at the location, keep the camera in the car for several moments while it cools down. Failure to do so may result in moisture becoming trapped inside the camera.
Throughout this tutorial, the fog has started to lift a little. Now, if you find yourself in a similar situation where you can no longer film within a foggy environment, and it’s going to throw off some of your footage, be sure to check out the Videvo library; there are a ton of foggy clips from a wide range of locations as well as some fog overlays.
Looking for filmmaking tips and tricks? Check out our YouTube channel for tutorials like this . . .

