Stands often go unconsidered among new filmmakers, but they’re critical tools on set or on location. Here’s what you need to know.
Stands are a necessary element of filmmaking that novice filmmakers often don’t think about. We, of course, need to place our lights on a stand, but which stand? Well, there are just so many to choose from. So, let’s go over four basic stands you will likely encounter while browsing your production store.
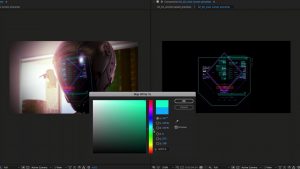
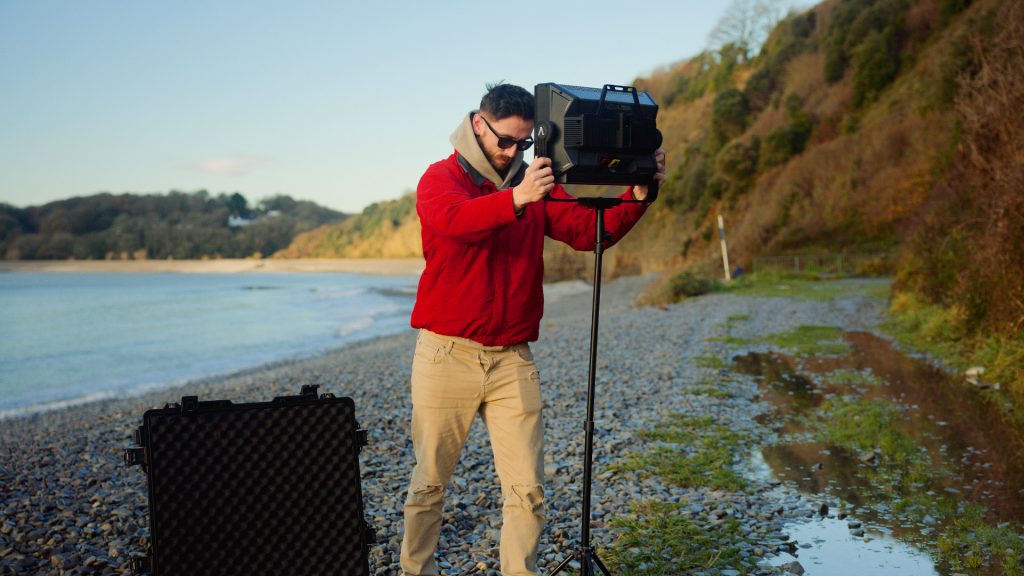
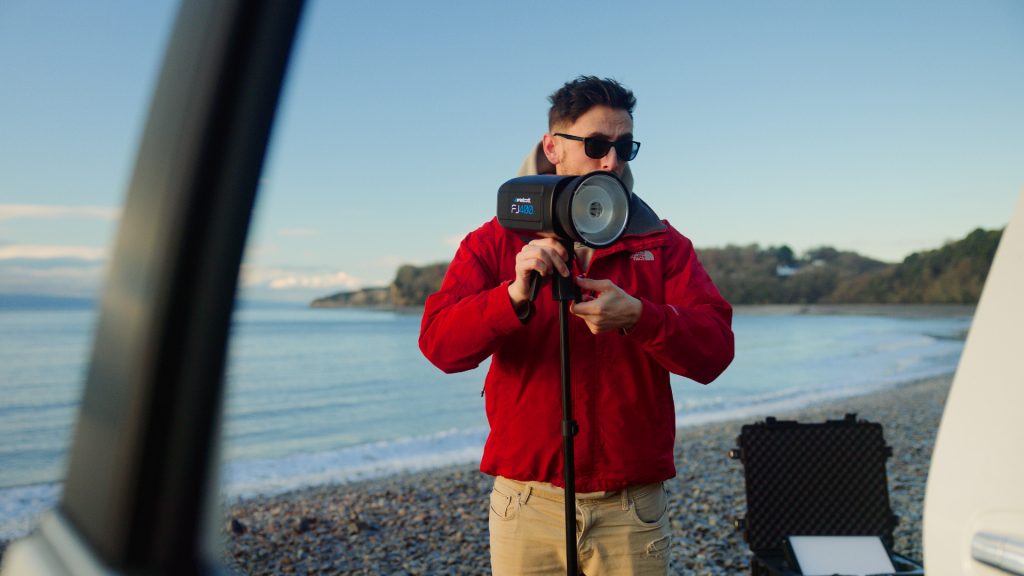
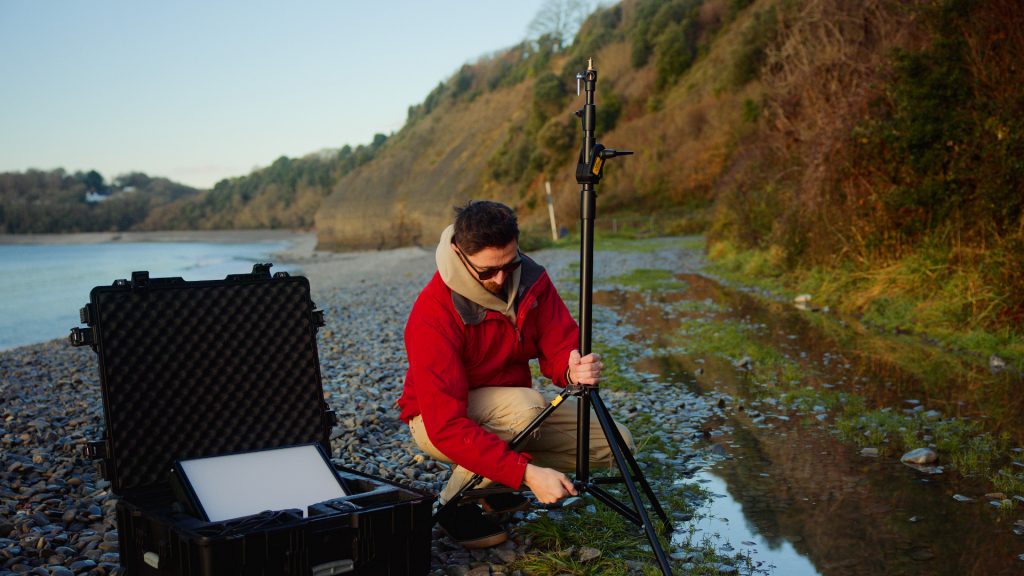
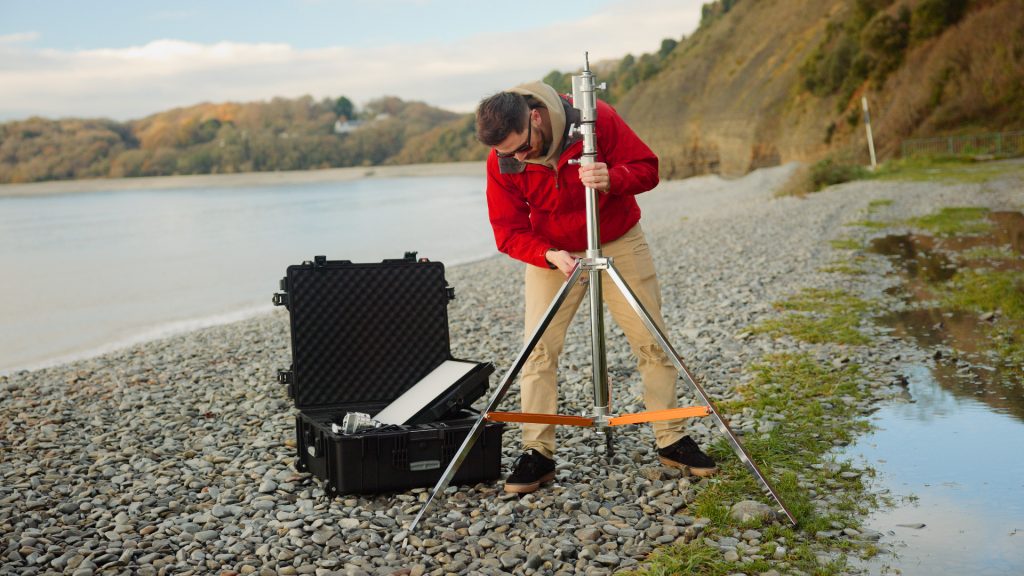
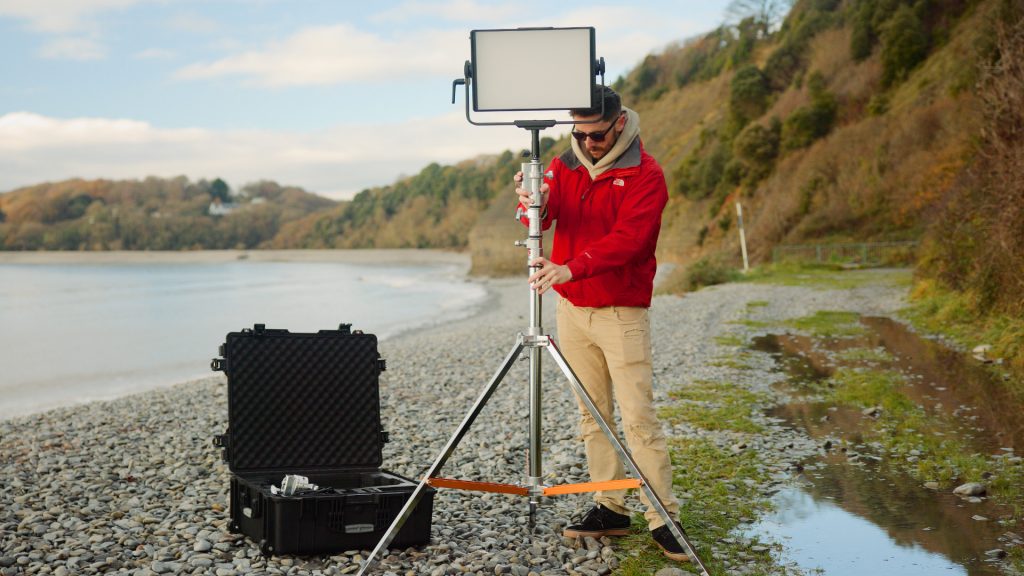
Coming off the last tutorial on lighting, I want to follow my own steps and use the Aputure Nova to illuminate my subject for a better day-for-night grade. Please watch that video if you haven’t already.
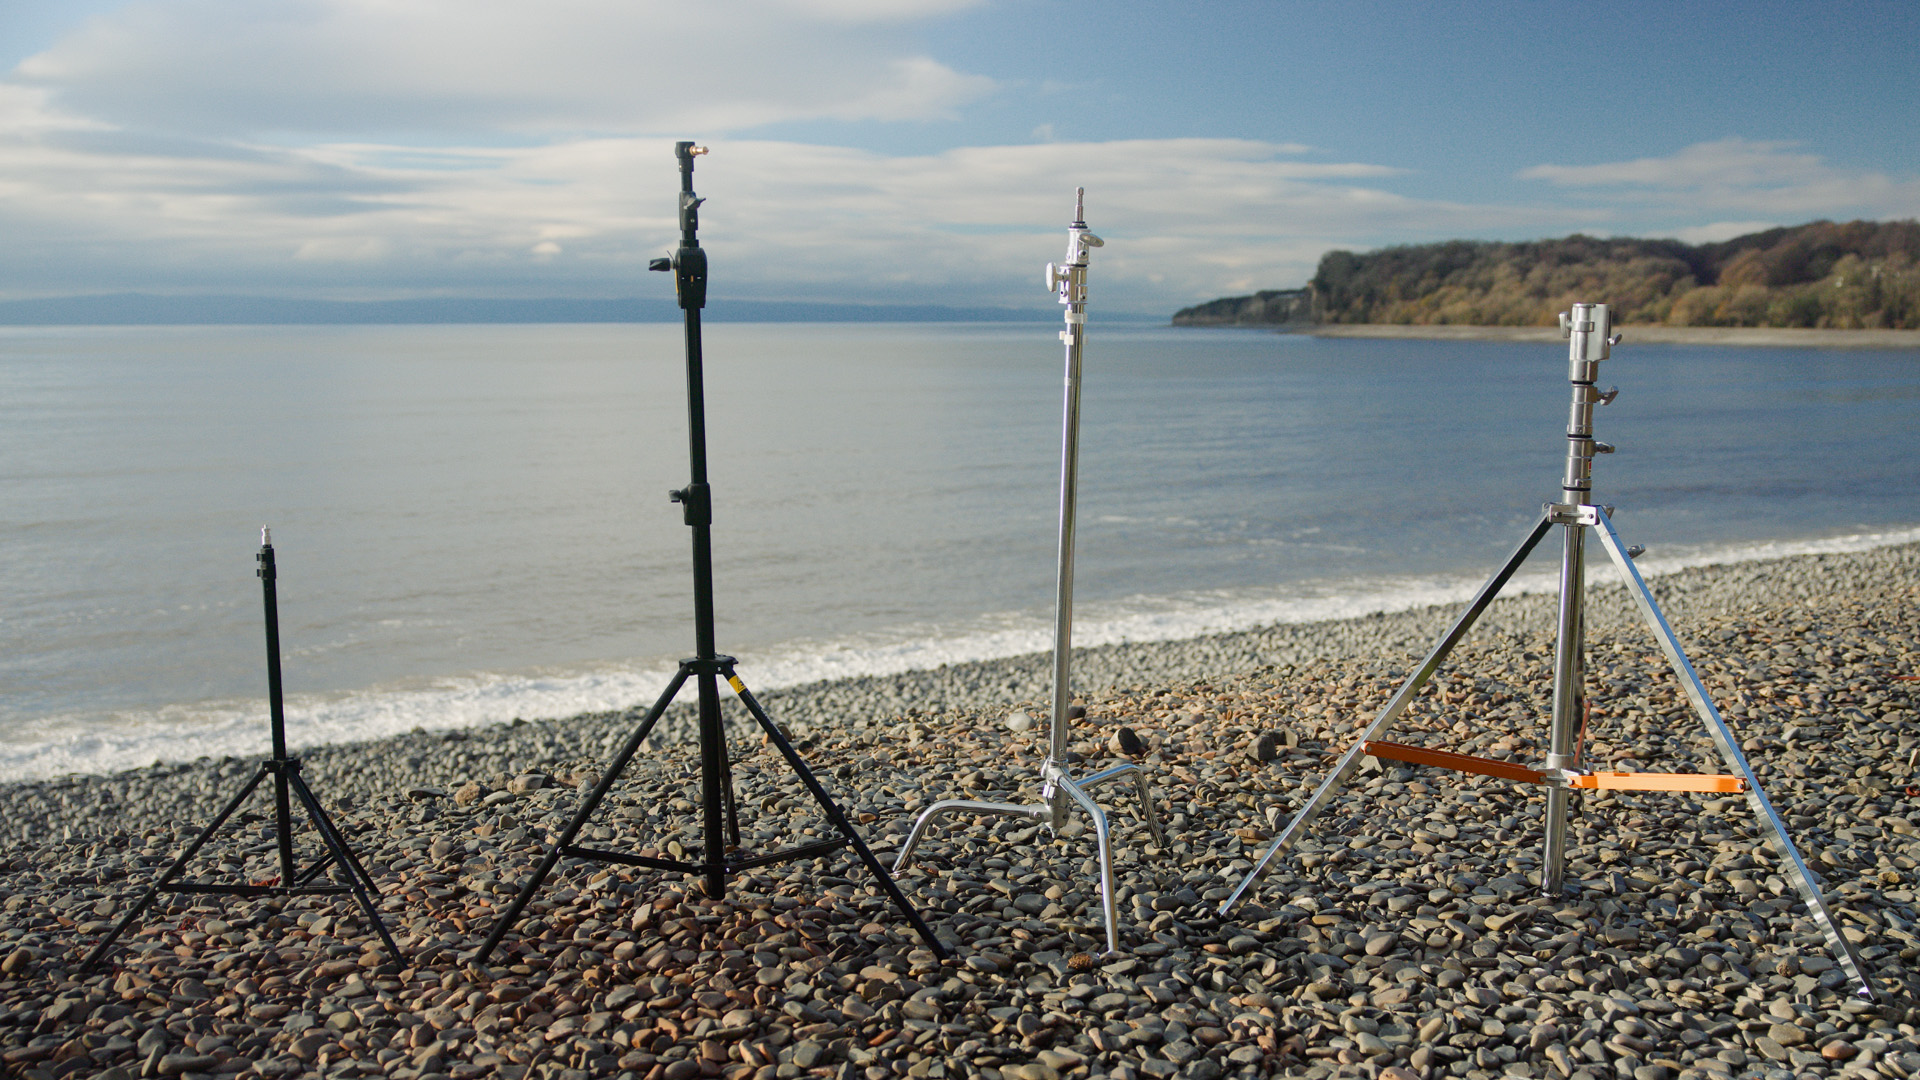
Inexpensive Amazon Stands £20-£40
First, we’re going to look at a typical cheap light stand that you can order from Amazon for next to nothing. These are typically basic and affordable stands that can support lightweight lights, and they are made of lightweight materials like aluminum.
The issue with these stands is that they typically have a small footprint, and when you mix that with lightweight material, it means they are prone to extreme sway if you start to load the stand with a heavy lighting fixture.
As a result, these stands are fine for creating home YouTube videos with small LEDs or even the use of a photography flash head.
But when it comes to filmmaking, these stands are better left in the back of the truck.
Standard Light Stands/Combi Boom Stands £100-£200
“But don’t I see studios using stands that look similar?“
Well, yes, but they’re probably more like a Manfrotto Combi Boom stand.
Looking at the design of this particular stand, it has a double-braced leg base that ensures stability on even the roughest terrain. You’ll also note that the footprint is larger and is perfect for spreading out over a sizable area. And even though the stand is still constructed from aluminum, the central column is significantly thicker, allowing for heavier use. However, as you can see in the video, there’s still considerable sway when it comes to extremely heavy fixtures.
“But what about the boom part?“
Well, this is where the “combi” aspect comes from. With this stand, you can transform the positioning, allowing for overhead lighting at various angles. This is useful for creative lighting setups or when precise control is needed.
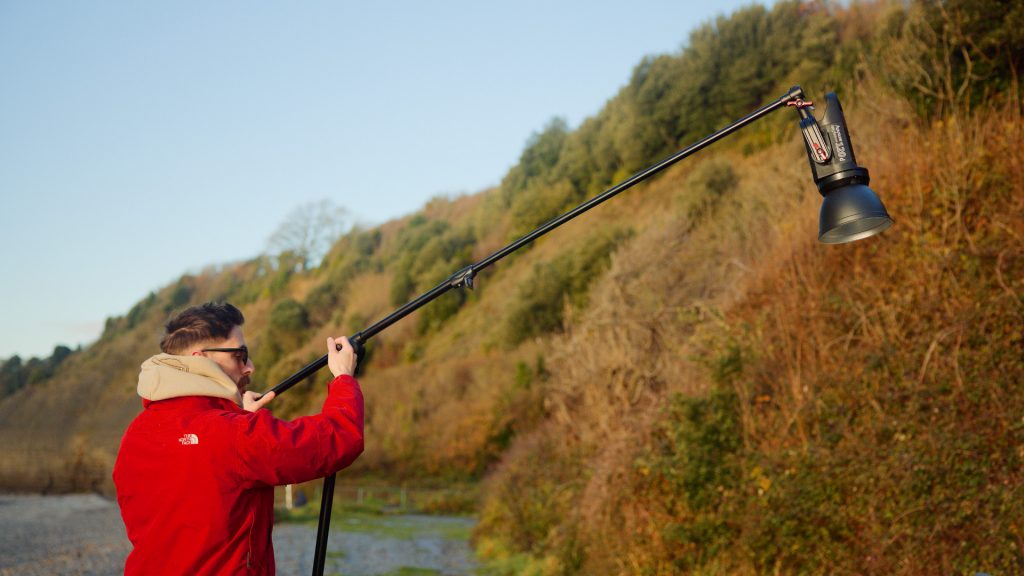
But for our desired result, it’s not that useful. These stands, whether used normally or in the boom configuration are great for Aputure and Amaran’s smaller line of lights, even excellent for old-school tungsten lights up to about 650w.
Okay, I know which stand would be useful. A C-Stand.
C-stands £150+
A C-stand is a staple within the film industry. It’s a heavy-duty stand known for its stability and durability, consisting of three legs with adjustable heights and a central column.

A C-Stand will carry a far greater payload. However, while the C-Stand may support a greater payload, and in this case, it does okay with the Aputure Nova, the center column is only attached to the very bottom.
As a result, the center post can move around a lot. I implore you to check out Gaffer & Gear’s video on heavy lights on C-Stands, as he provides a very practical example using even heavier light heads.
But importantly, it’s essential to know that a C-Stand isn’t really a light stand but a grip tool. Its main purpose is to hold stuff. If you have a shot where the sun is starting to come out and you want to block the sun in the car, I would need to put up a flag.
There are a few housekeeping rules you should know about using a C-Stand. The first is to make sure you sandbag the highest foot on the base.
This is because the weight will drop over each side, weighing the stand down, and it would take considerable effort to knock it over. If placed on the lower foot, then the stand can slide right on out as the sandbag is essentially resting on the floor.
Next, you always want to position your grip gear to the right of the tightening knob. For example, if we were to slightly loosen the grip head as if it wasn’t tightened properly and then apply pressure on the boom arm, it would drop forward but then lock into place, as this is the direction of the tightening.
However, if we were to swap the arm around and then push down, the boom arm would fall loose. Now imagine if this is an expensive light. Well, you get the idea.
“So what can we use?“
This is where we move to the appropriate choice. A Combo Stand.
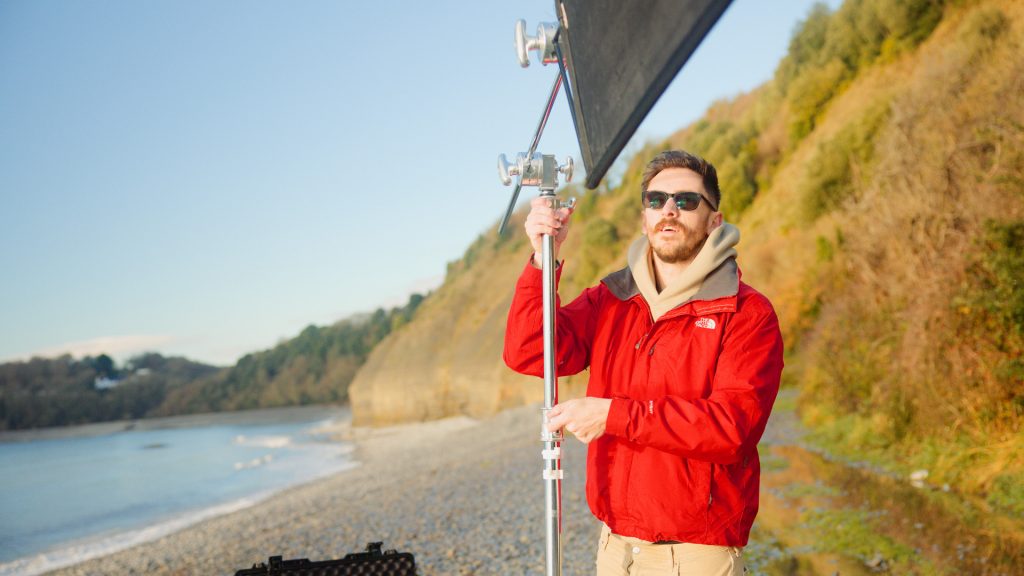
Combo Stand £250+
These tools offer both stability and versatility. This particular model has a 43-inch footprint and can support equipment up to 40kg.
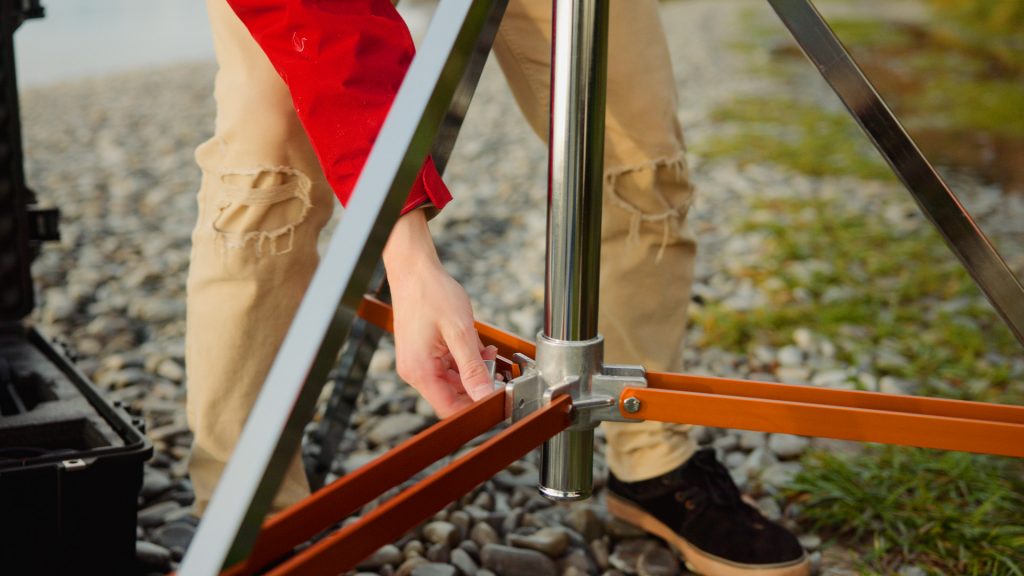
Designed with steel components, it would take a significant effort to knock one of these stands over. And it’s not just the weight; unlike the C-Stand, a Combo Stand will have two connection points to the primary shaft: at the bottom and, more importantly, in the middle. While this inherently makes the stand larger, it also makes it much more secure, allowing for heavier lights to be fixed with no issue. Furthermore, they can extend up to 3.5 meters and more, which adds peace of mind.
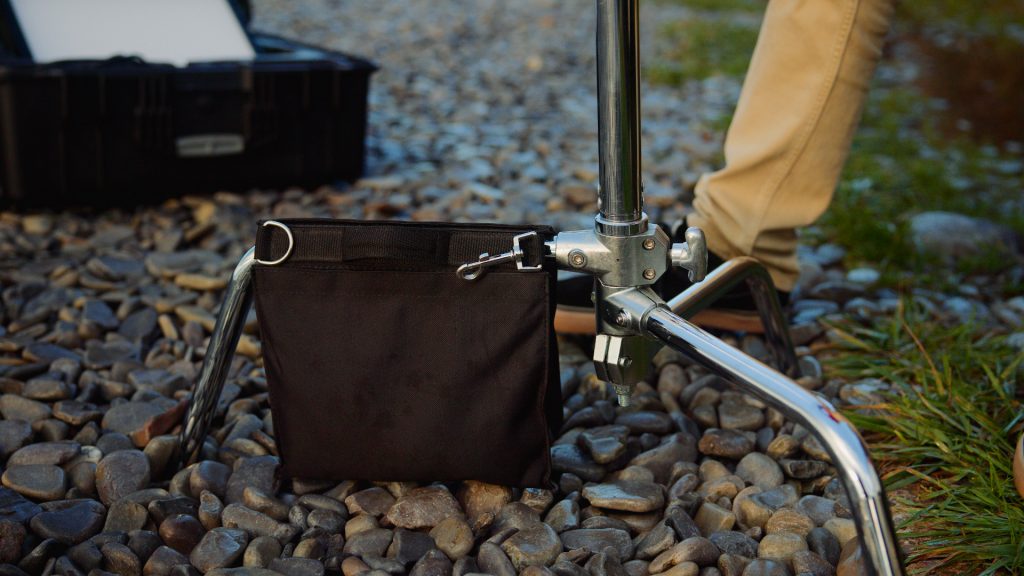
You can still sandbag a Combo Stand, but you want to do it on the outside of the leg instead of the brackets themselves. Combo Stands are also very versatile. They have a pop-up baby pin, a V-shaped junior receiver, can have wheels attached, and can even have what is called a rocky mountain leg. This is a built-in leg function that allows you to level the stand when it’s been used.
If the C-Stand is the certified tool for holding grip gear, then the Combo Stand is the go-to tool when it comes to heavier lighting fixtures. There’s never one tool to rule them all, but it ultimately comes down to the weight of the light you’re using and safety. There’s certainly nothing wrong with a £20 Amazon light stand when you’re using a lightweight LED for streaming.
Looking for filmmaking tips and tricks? Check out our YouTube channel for tutorials like this . . .