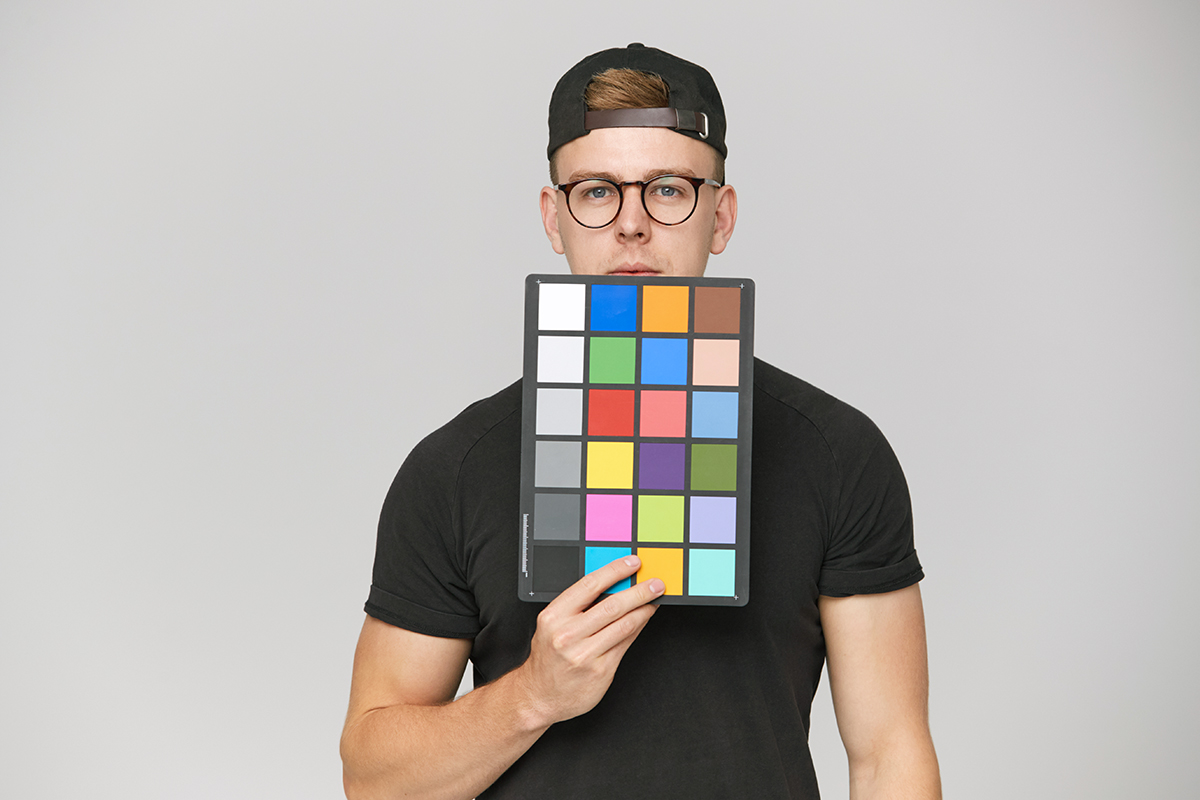
Every videographer struggles with obtaining the perfect color for their videos until they discover this magic tool – color reference charts. If you haven’t yet tried out these color checker charts, it’s time you did. They help boost your videography workflow to a greater extent. The best part about these color reference charts is that they are easy to use and are not at all a complex concept (as often assumed).
Instead, these simple, compact versions of color checkers help you color match reality with video in a couple of simple steps. The best brands have come up with color checkers of different types and sizes, and each of these helps you nail the color balance in your footage. This, in turn, enables you to enhance the appearance and quality of your video effortlessly.

Why Do You Need a Color Checker?
Most videographers tend to avoid using a color checker simply because it is too simple a videography tool. Unlike other high-end cinema gear, this humble color reference chart is nothing more than a plastic card on which you have a neatly aligned grid of colors. But here’s the truth – once you start using a color checker, there’s no turning back! Even YouTubers and filmmakers are shocked when they finally learn the fantastic applications of this humble, portable color palette.
Now we come to the main reason why you need a color reference chart. Irrespective of how high-end your camera and its specifications are, it cannot control all the external elements that impact the quality of your videos. These elements include the objects in and around your set that may give off an ambient light. These end up casting color tints that could ruin your entire shoot.
And this is precisely where color checkers come into the picture. You can apply presets to the accurate color, and correction adjustments will be applied to all footage instantly. Once you have adjusted your color tones properly, you can move ahead to complete the rest of the post-processing aspects.
You need to keep in mind that every combination of camera, lens and the in-built sensor will reproduce colors in its own unique way. This means that while the resultant image from each set would be different, a color reference chart would help you even it all out.
Another reason for you to use a color checker is that it comes in various sizes, is super sleek, portable, and durable. The compact size allows you to slip this magical tool into your kit, too.

How Does a Color Reference Chart Function?
Every color checker is compatible with leading software editing suites. This software helps you read footage and compile it into a small file. You can then easily import this file into the editing software for camera calibration. The file will then apply common characteristics to all your bins of footage if you have them selected. This ensures consistency in color management, resulting in an even color across your footage.

How to use a Color Reference Chart?
Now that we’ve understood why we need to use a color reference card, let’s have a look at how to put it to good use:
Step 1: Find Your Composition
First and foremost, you need to find your composition in the field. Further, make sure the lighting is uniform. All you need to do is place the color checker in the scene and record a small clip.
Step 2: Adjust the Lighting
Lighting is a crucial aspect when it comes to the usage of a color reference chart. Now that you have already ensured that the lighting is uniform, here are some extra elements you need to remember. First, ensure that the light source is at a reasonable distance and is not obstructed.
Adjusting the lighting is a lot easier in a studio because you are in complete control of every lighting aspect here.
Step 3: Set up Your Color Checker
Once you are done finding your angle and adjusting the lighting, it’s time to set up your color checker. Do note that every color checker comes with a set of usage instructions, and you can follow the same if you wish to. But here are some general rules to keep in mind:
Once you have accurately placed the color checker in the scene, you don’t need to frame it so that it occupies the whole frame. Instead, you can choose to leave as much space around the color checker. You can opt to shoot at a frame rate you are comfortable with.
Framing isn’t as important as alignment is – so make sure your color checker faces the camera, so there is no light reflecting from it. To get this right, you would have to align the central axis of the lens with the center of the color checker. The perfect alignment would help you achieve the highest quality of colors.
Step 4: Software Configuration
As we mentioned before, every color reference chart works with the majority of editing suites. Before you begin with any post-processing tasks, install this software. Once installed, you need to instruct your primary editing software to use this newly installed software as secondary editing software. Your color checker software will now be ready to use along with your primary editing software with this step.
Step 5: Editing in the Color Checking Software
In this step, you need to import footage of the color checker. Then, if you are using Adobe Premiere, navigate to the Color tab and look for “Lumetri Color.” Then use the White Balance Eyedropper tool to select the white area of the color checker to set the white balance.
Summing Up
Color checkers are an inexpensive yet amazing tool that you need to consider using for all your shoots. Irrespective of the genre of filmmaking, color reference charts work just as well – the way of application may be slightly different, but the results will be simply splendid! So what are you waiting for? Go get yourself a color checker right away!


